I was browsing Martha’s website one day in search of easy sewing projects and found this sweet pattern.
Sadly I was fresh out of vintage teatowels, but had some destroyable man shirts from my very patient husband (“Babe, I’m never going to wear that shirt again, it must be destroyed.” “But the cotton is so good, it’s a TM Lewin shirt! I’m sure I can do something with it, I’ll just put it in the sewing cupboard black hole.”) Shirts tend to wear around the collars, cuffs or armpits, but often the rest of the fabric is in perfectly good nick and I’m always loathed to throw them away.
Step 1 – Print out the pattern and tape it together
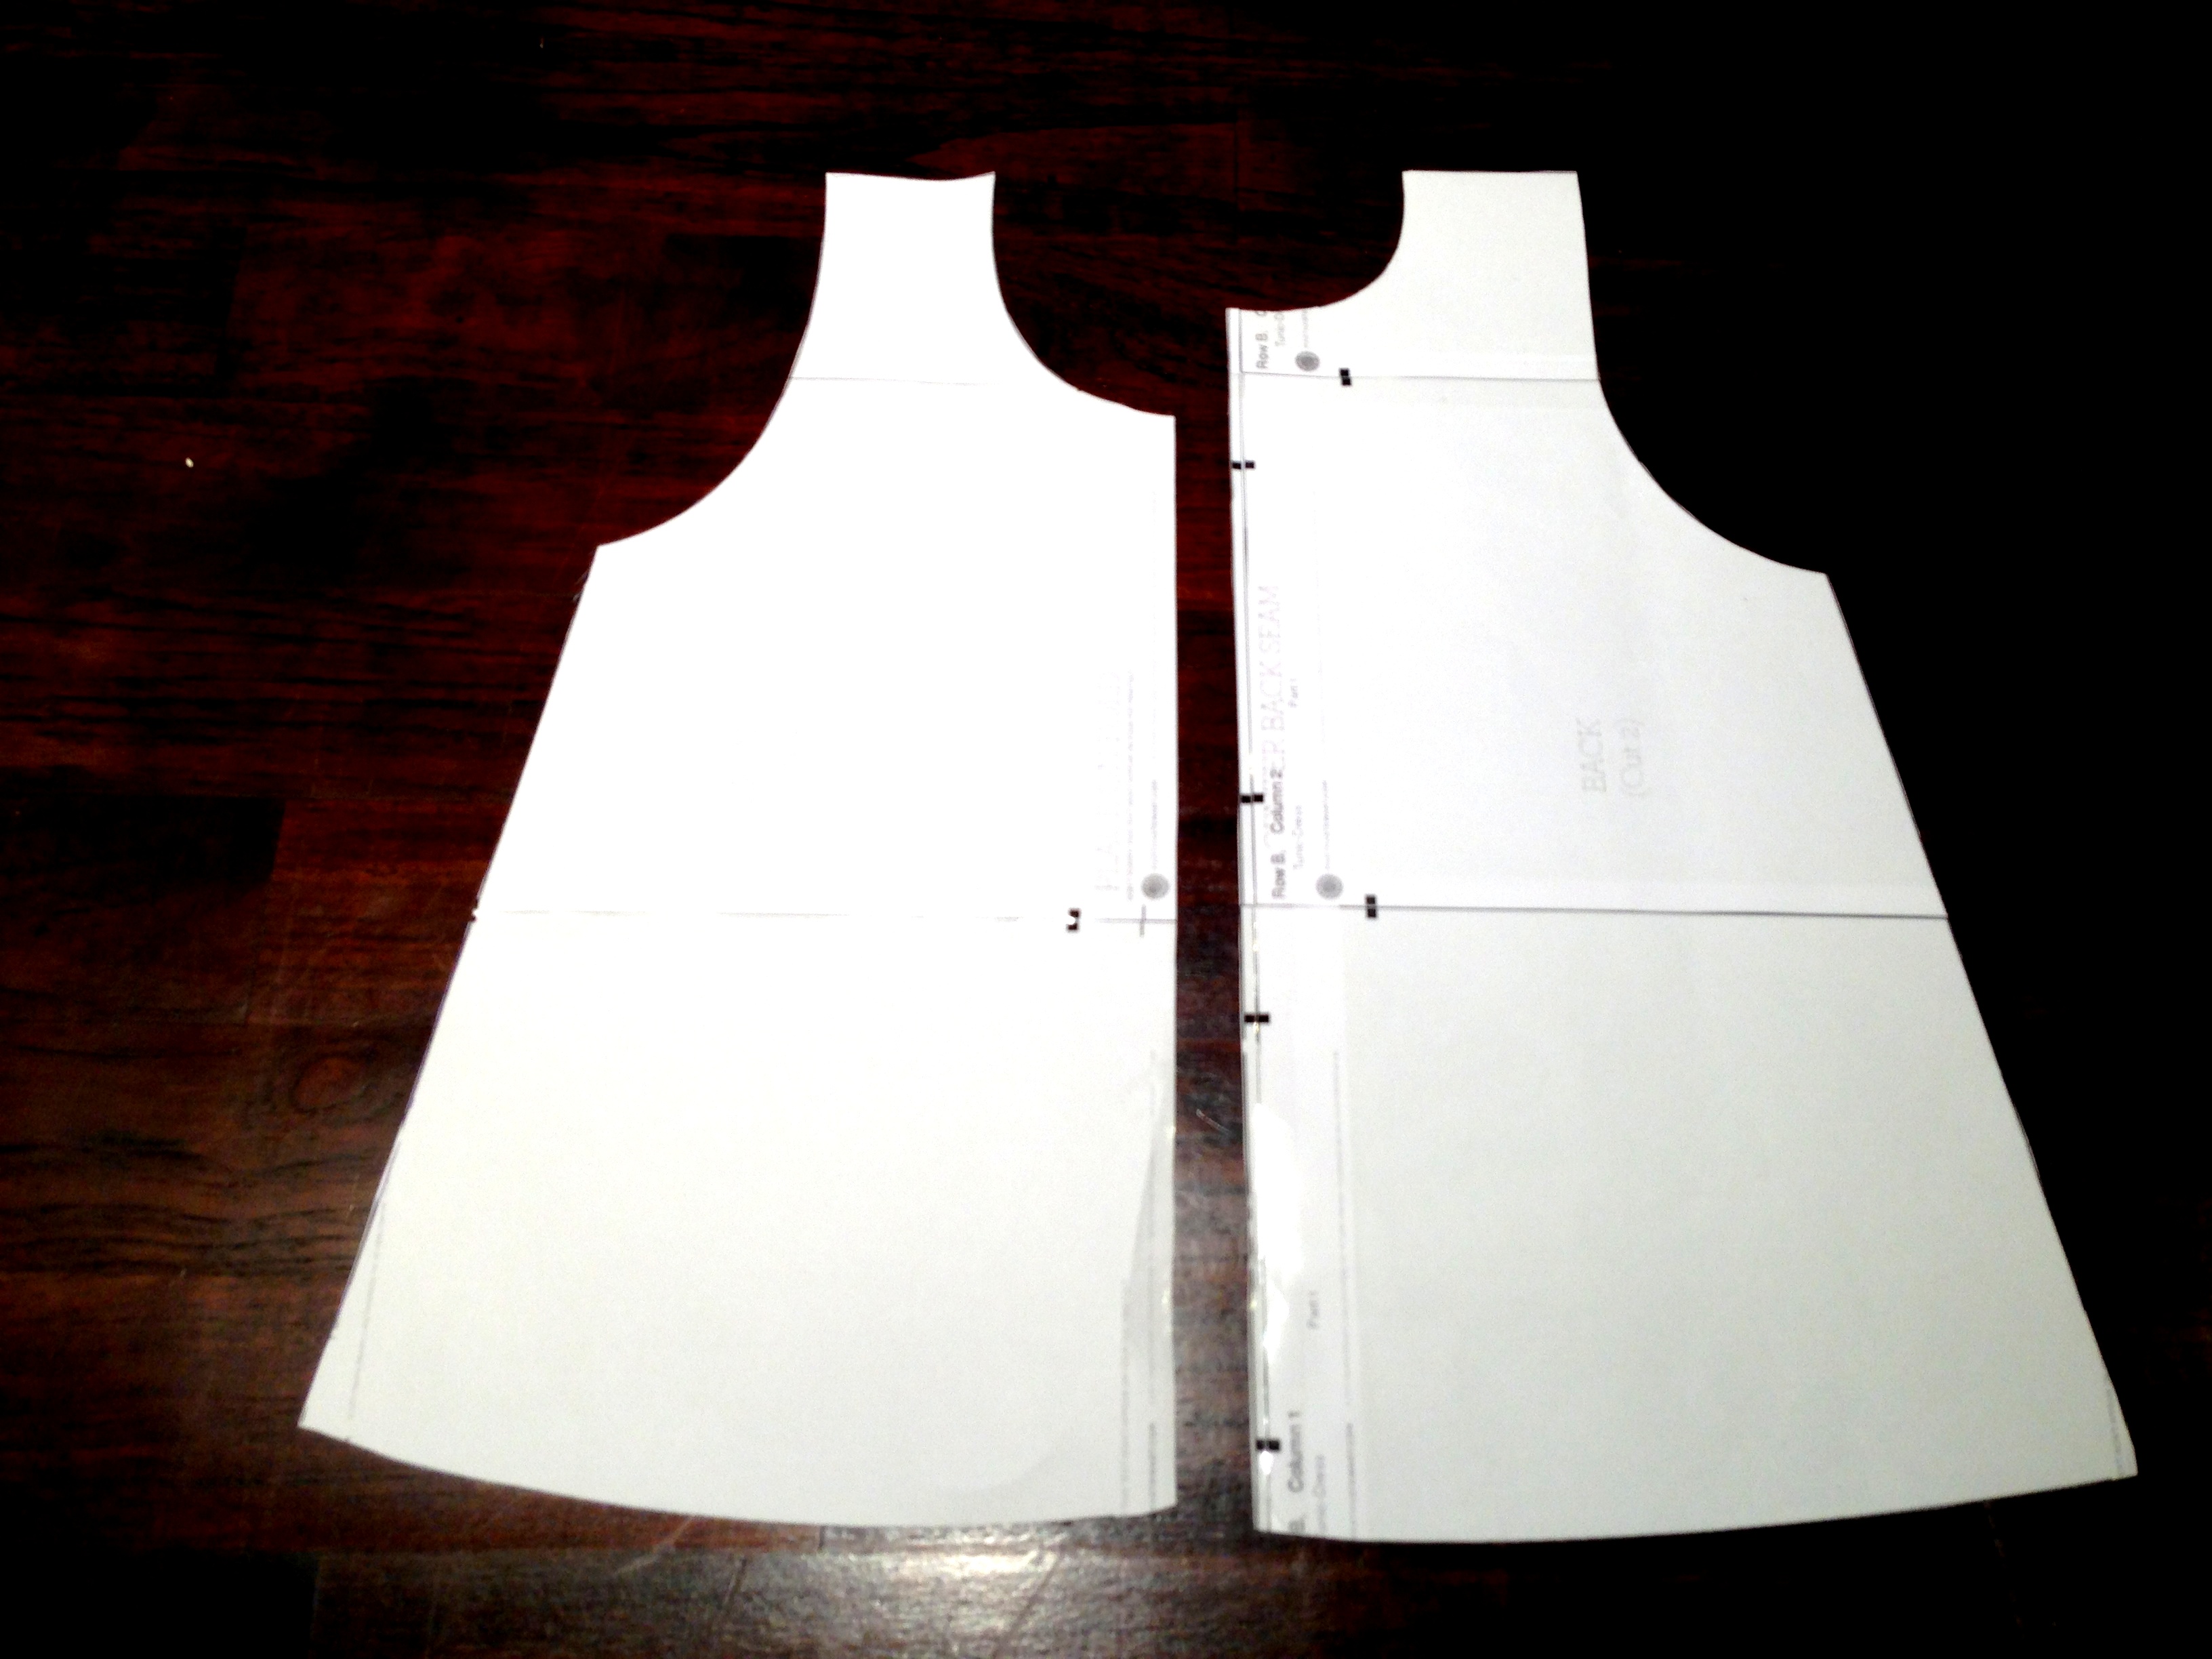
Step 2 – Lay the pattern on your fabric and cut it out. I didn’t take a progress photo, but instead of cutting two front pieces, I essentially cut a single front piece since the front of a shirt is already composed of two separate pieces.
Step 3 – Join the sides together. I left the collar and armholes to the end.
Step 4 – Finish the collar and arm holes with bias tape cut from the shirtsleeves. I decided not to add the frill at the bottom since it didn’t seem to go with the clean lines of the dress. Instead, I made a fabric rose by handgathering a strip of fabric. The big one was my first attempt and I think I gathered it a bit too loosely, the littler one was better:)
-
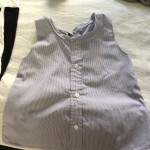
- Almost finished..
-
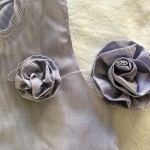
- Detail shot!
And done! I really enjoyed this project. We have a little niece due in October (currently referred to as Skittles) so I’m planning to make a few more little dresses for her.