My recent MBTI profiling exercise names me a pressure-prompted J. To be honest, I don’t need an expensive test to tell me that. Case in point, the months of June and July where I was simultaneously excited and nervous about the Singapore Mini Makers Faire and *successfully* convinced myself that not doing anything earlier meant I’d have more time since I *always* produce results under pressure.. The Husband had decided a few months before (May?) to have a booth at the Faire – much work has been done on Squirty and Beerbot in the last year and this would be a good chance to give them their moment of glory. It’s possible he also had the noble motive to introduce as many kiddywinks to the wonderful world of engineering as possible in hope of preventing the loss of a generation to the murky worlds of law and finance.
Being a good commercial lawyer, I swiftly negotiated the right to hijack said booth, which resulted in the catchy name of Tinker Tailor. However unlike Owen‘s effusive speech Making requires more than a clever turn of the phrase (insert obligatory reference to blood, sweat, tears and needles here). I had actually started on my quest with the projects below.
-
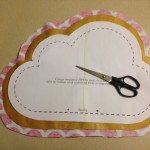
- Freehand drafting before I eyeballed and trimmed using pinking shears
-
- Construction commenced
-
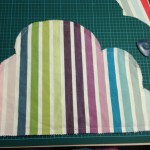
- Construction complete
-
- The wadding looked like rain
-

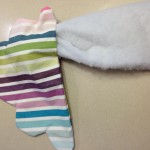
- Ready set stuffed
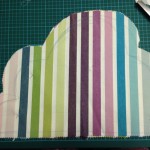
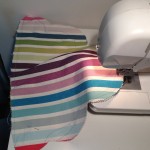
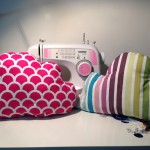
Stripey was my first attempt at a cloud-shaped pillow. I’d seen cute shapes like clouds. mountains and whales on the Interweb a while ago, looked up a few images online first, but none of them matched the picture in my head. Although it looked good on paper, I learnt that the more acute the angle was, the more difficult it became to sew which resulted in more puckering at the intersection of each scallop. I may have been able to compensate by overstuffing the cushion a bit, but the fabric in question was not very stretchy, which meant the seam was more likely to rip than the fabric stretch, It was neither an abject failure not a resounding success, but like a mother with her delinquent firstborn, Stripey will always have a special place in my craftroom. 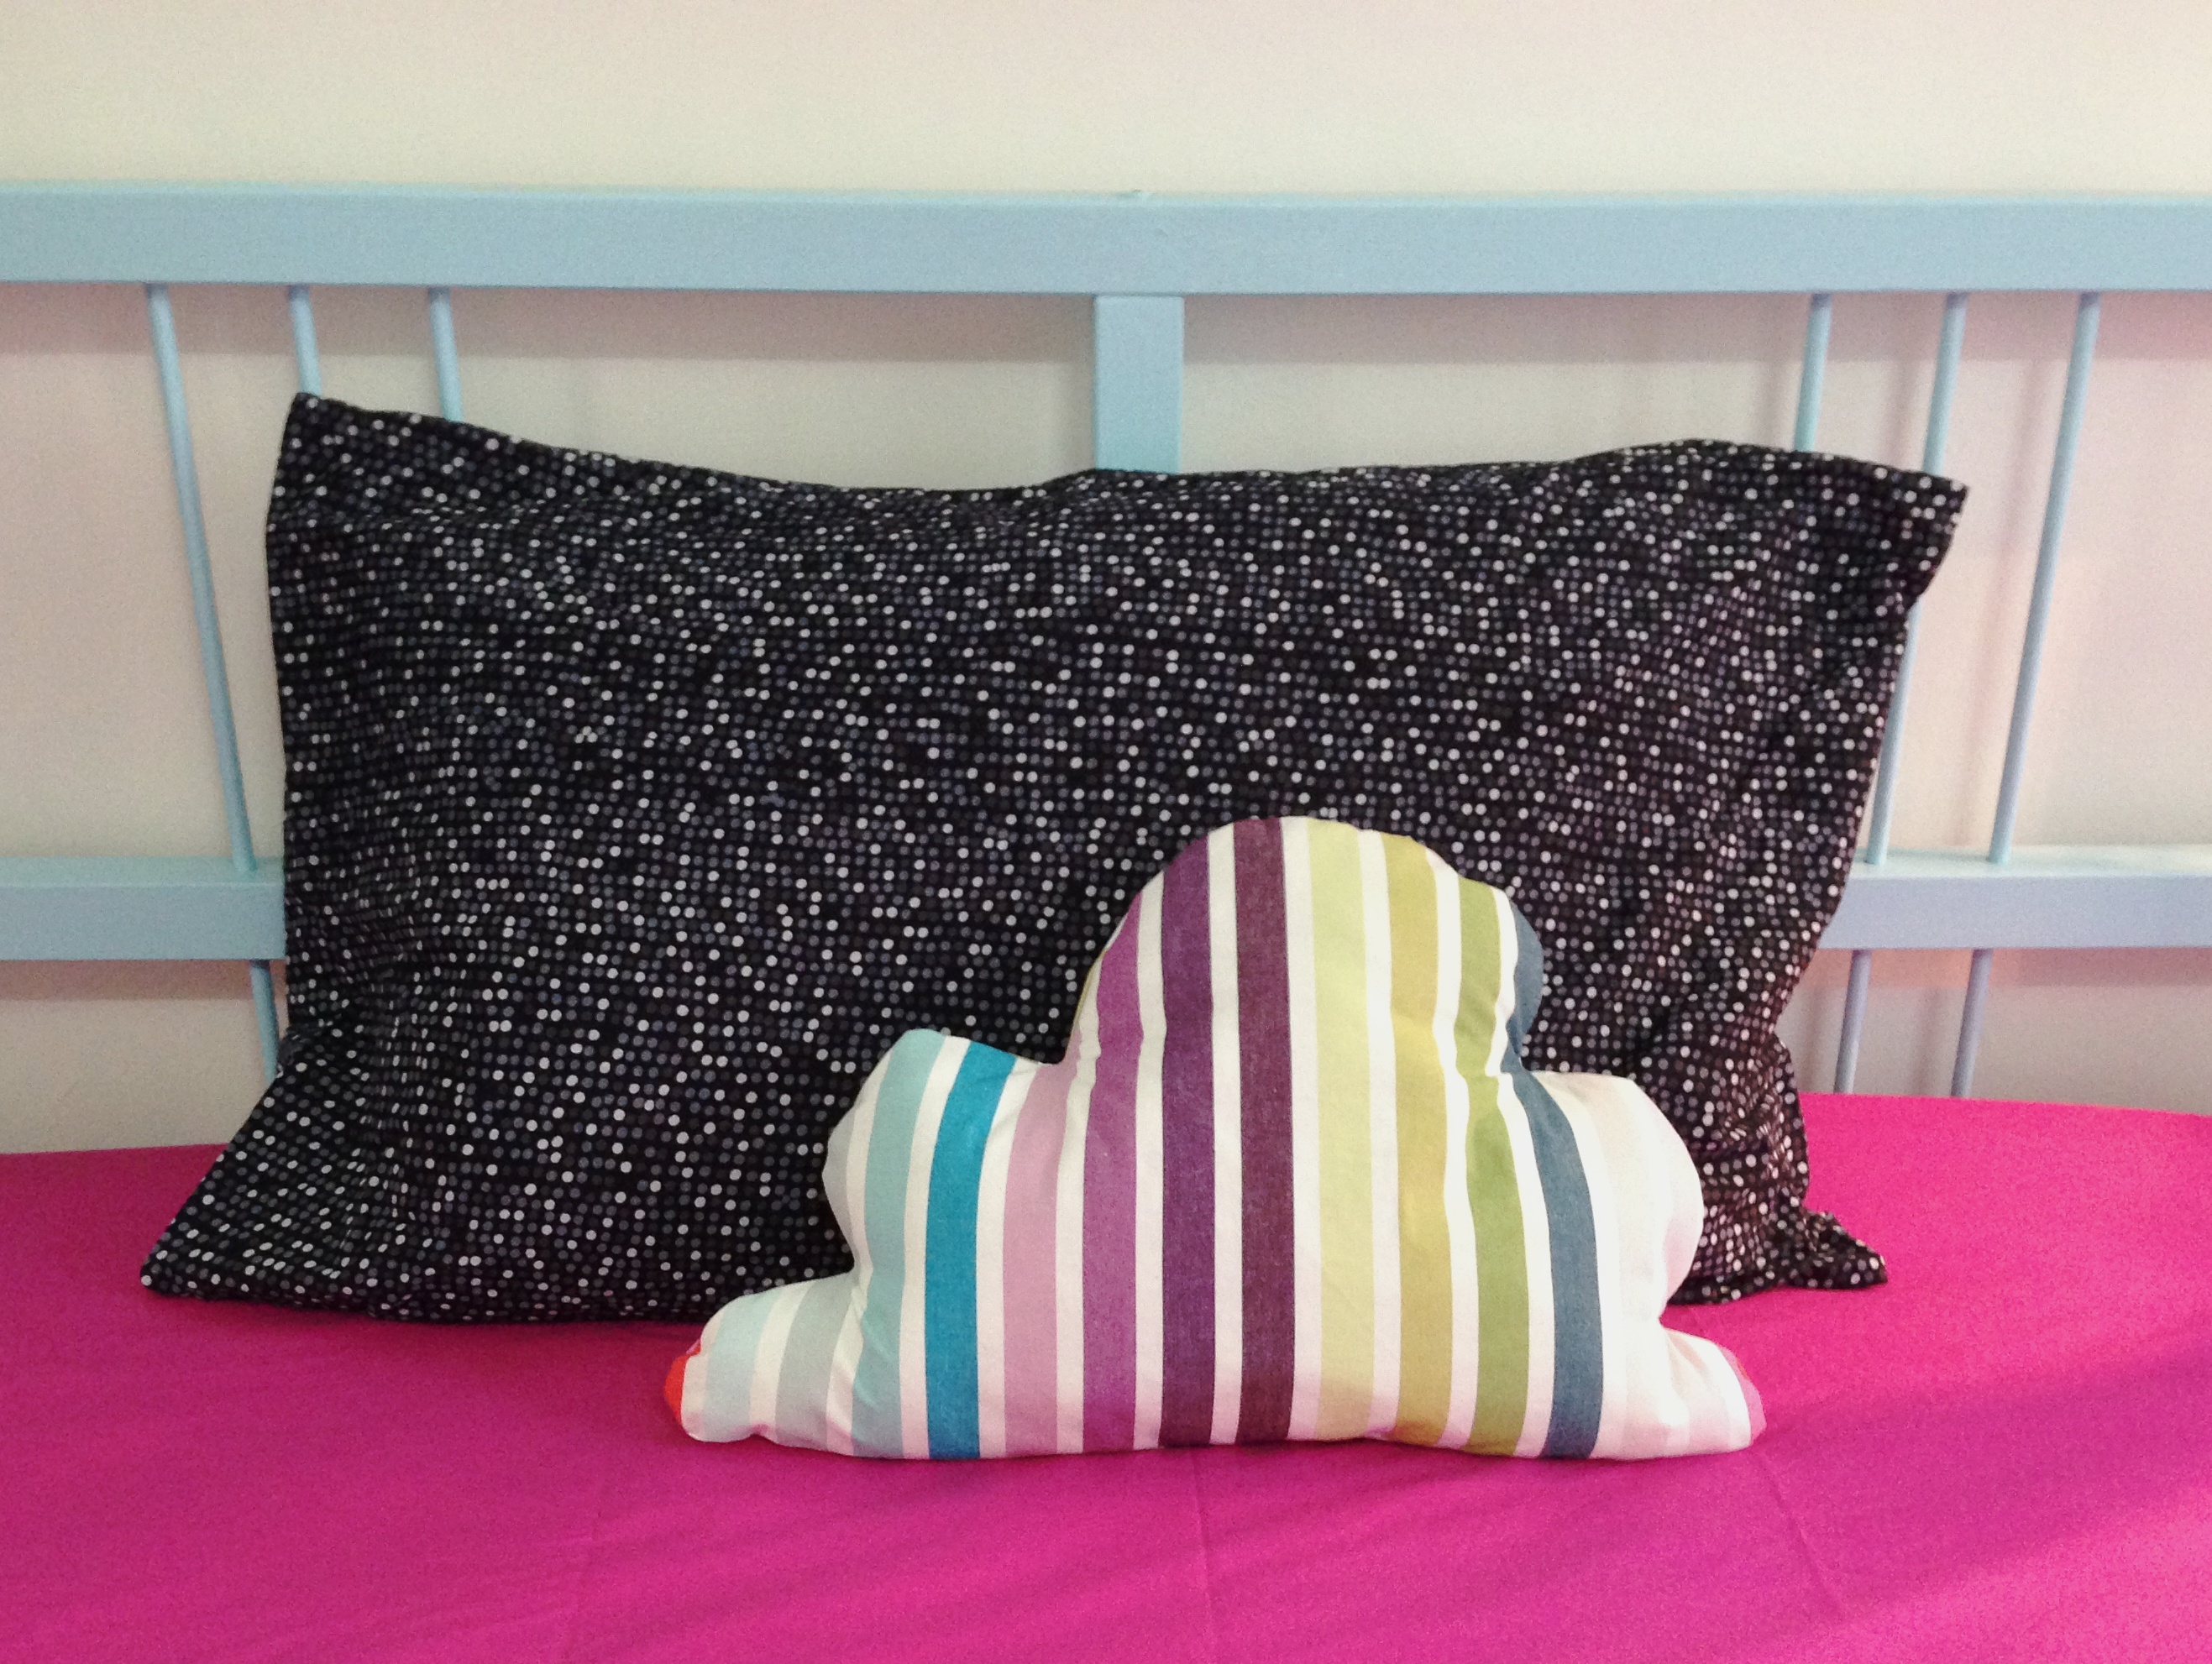 Take #2 involved a little more googling where I found this Liberty tutorial. I’ve loved the Liberty store for as long as I’ve known it, so although the shape was not what I wanted, I was confident that the pattern would work well. I was right!
-
- Take 2 with more guidance
-
- The cuddly siblings
I used a cuddly soft fleece for this and have made 3 of these so far but still need to work on my blind hem sewing skills. The nicest one has been gifted to a friend’s beautiful baby A, I hope she finds it as cuddly as I do.
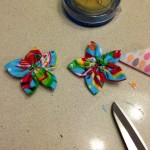
The next project involved breaking out my kanzashi flower maker, one of a number of craft-related items I requested for Christmas. In one of those slow-motion “Ohhhh…” moments, I thought it would enable me to make a flower at a time, as opposed to a single petal at a time.. After a little whinge, I realised it was actually quite an easy and satisfying process and made about half a dozen. I sewed some of them to make baby headbands and have a few extras I will be using as accents on some of the projects in the pipeline. The centers of the flowers were the most annoying bit as I do not really have any buttons beyond the spares that come with clothes. I broke out my new hot glue gun and experimented with felt, circles of fabric, and miniature fabric roses. I think the roses look the best as the 3D effect provides additional interest, but they are also the most time consuming.. I really like my hot glue gun, but I think I need to get better at not leaving sticky tendrils everywhere. I also wasn’t sure if the glued headbands would still be washable – a trait that is crucial in babywear. In any event, the flowers looked sweet, although the whole process of trying to encase elastic really did stretch my patience ![]() I also made one felt flower using this tutorial, and attached it to a wrist corsage but it’s somewhere amongst the flotsam and jetsam of my craft room
I also made one felt flower using this tutorial, and attached it to a wrist corsage but it’s somewhere amongst the flotsam and jetsam of my craft room
-
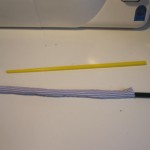
- The skinny headband defeated my trusty chopstick
-
- Pretty obvious which was V2
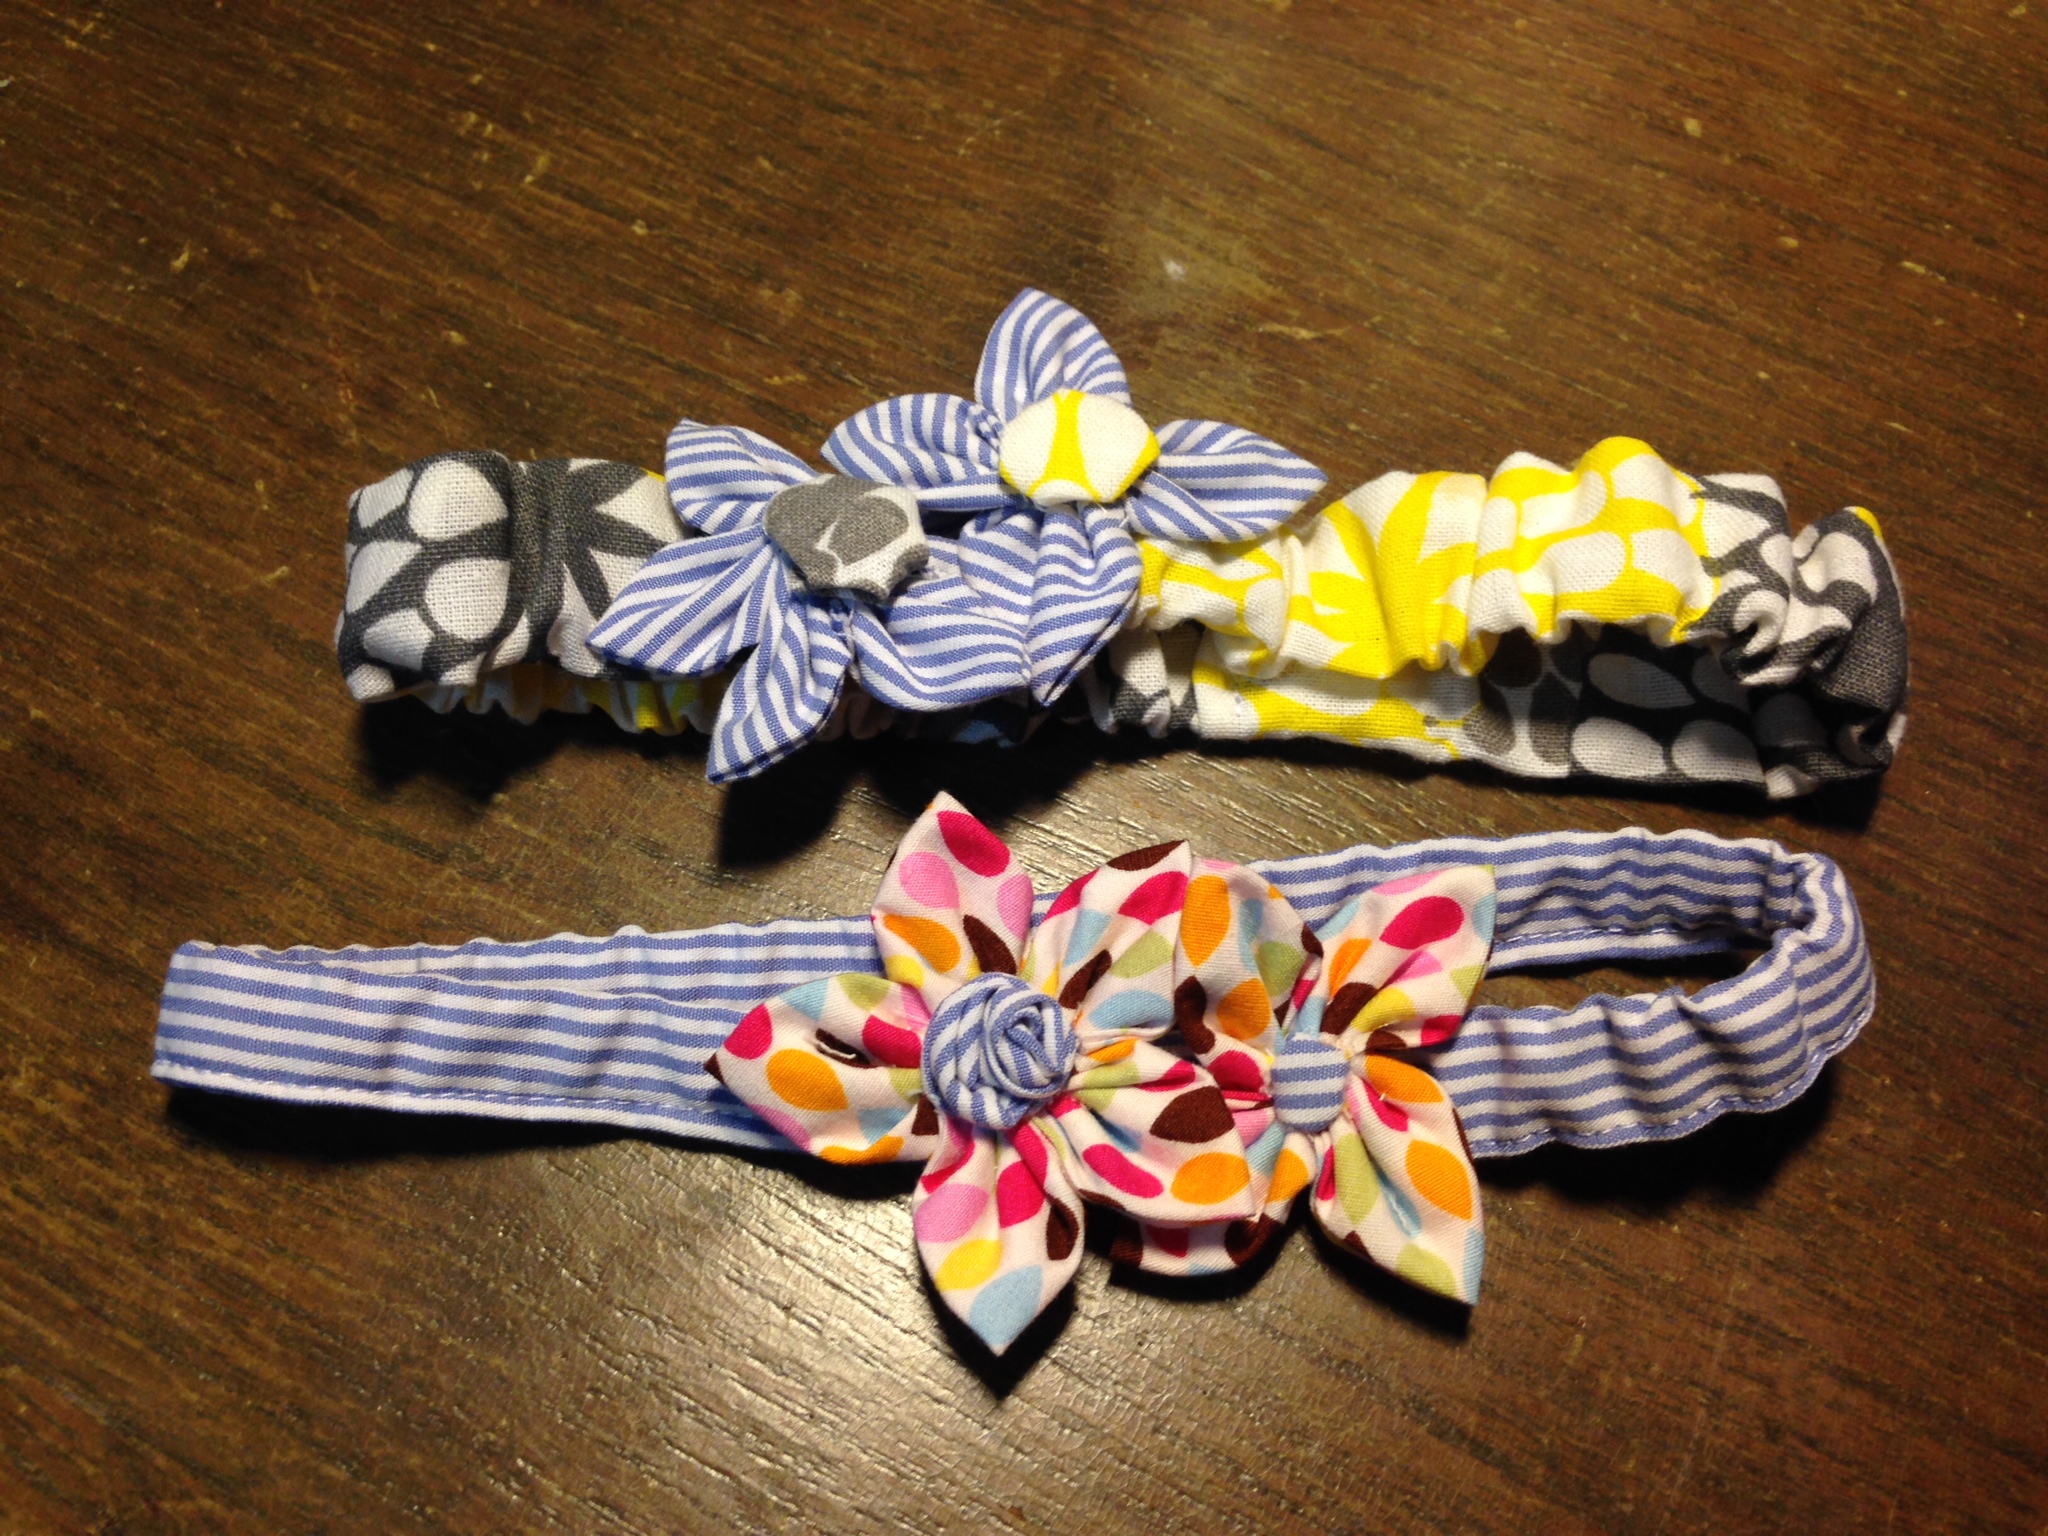
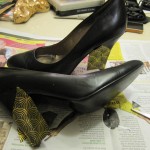
The finished product
If one is busy avoiding action, it is useful if one can outsource the execution of certain projects so you can still claim credit for the design process. Our auxiliary kitchen work surface ( which is really our primary work surface given the comically large stove top in our rental) was showing signs of wear after 3.5 years of faithful service. It is a discontinued Ikea model so I looked into getting a new piece of butcher block or other worktop as a replacement, but they were all more expensive than the unit itself. I decided the best option was to wrap it in laminate or some other durable and flexible material – the Fabric Gods were kind and I found the perfect vintage-style printed vinyl tablecloth. The Husband agreed so it came home with me. Given my performance in the months of June and July, if it had been up to me, the roll of vinyl would probably have sat in a corner until I felt it was the “right” time to tackle the project, despite the fact that it really didn’t require much planning. Thankfully for us, this was decreed a Boy Job and we’ve been happily using our old-new worktop for the last 2 months.
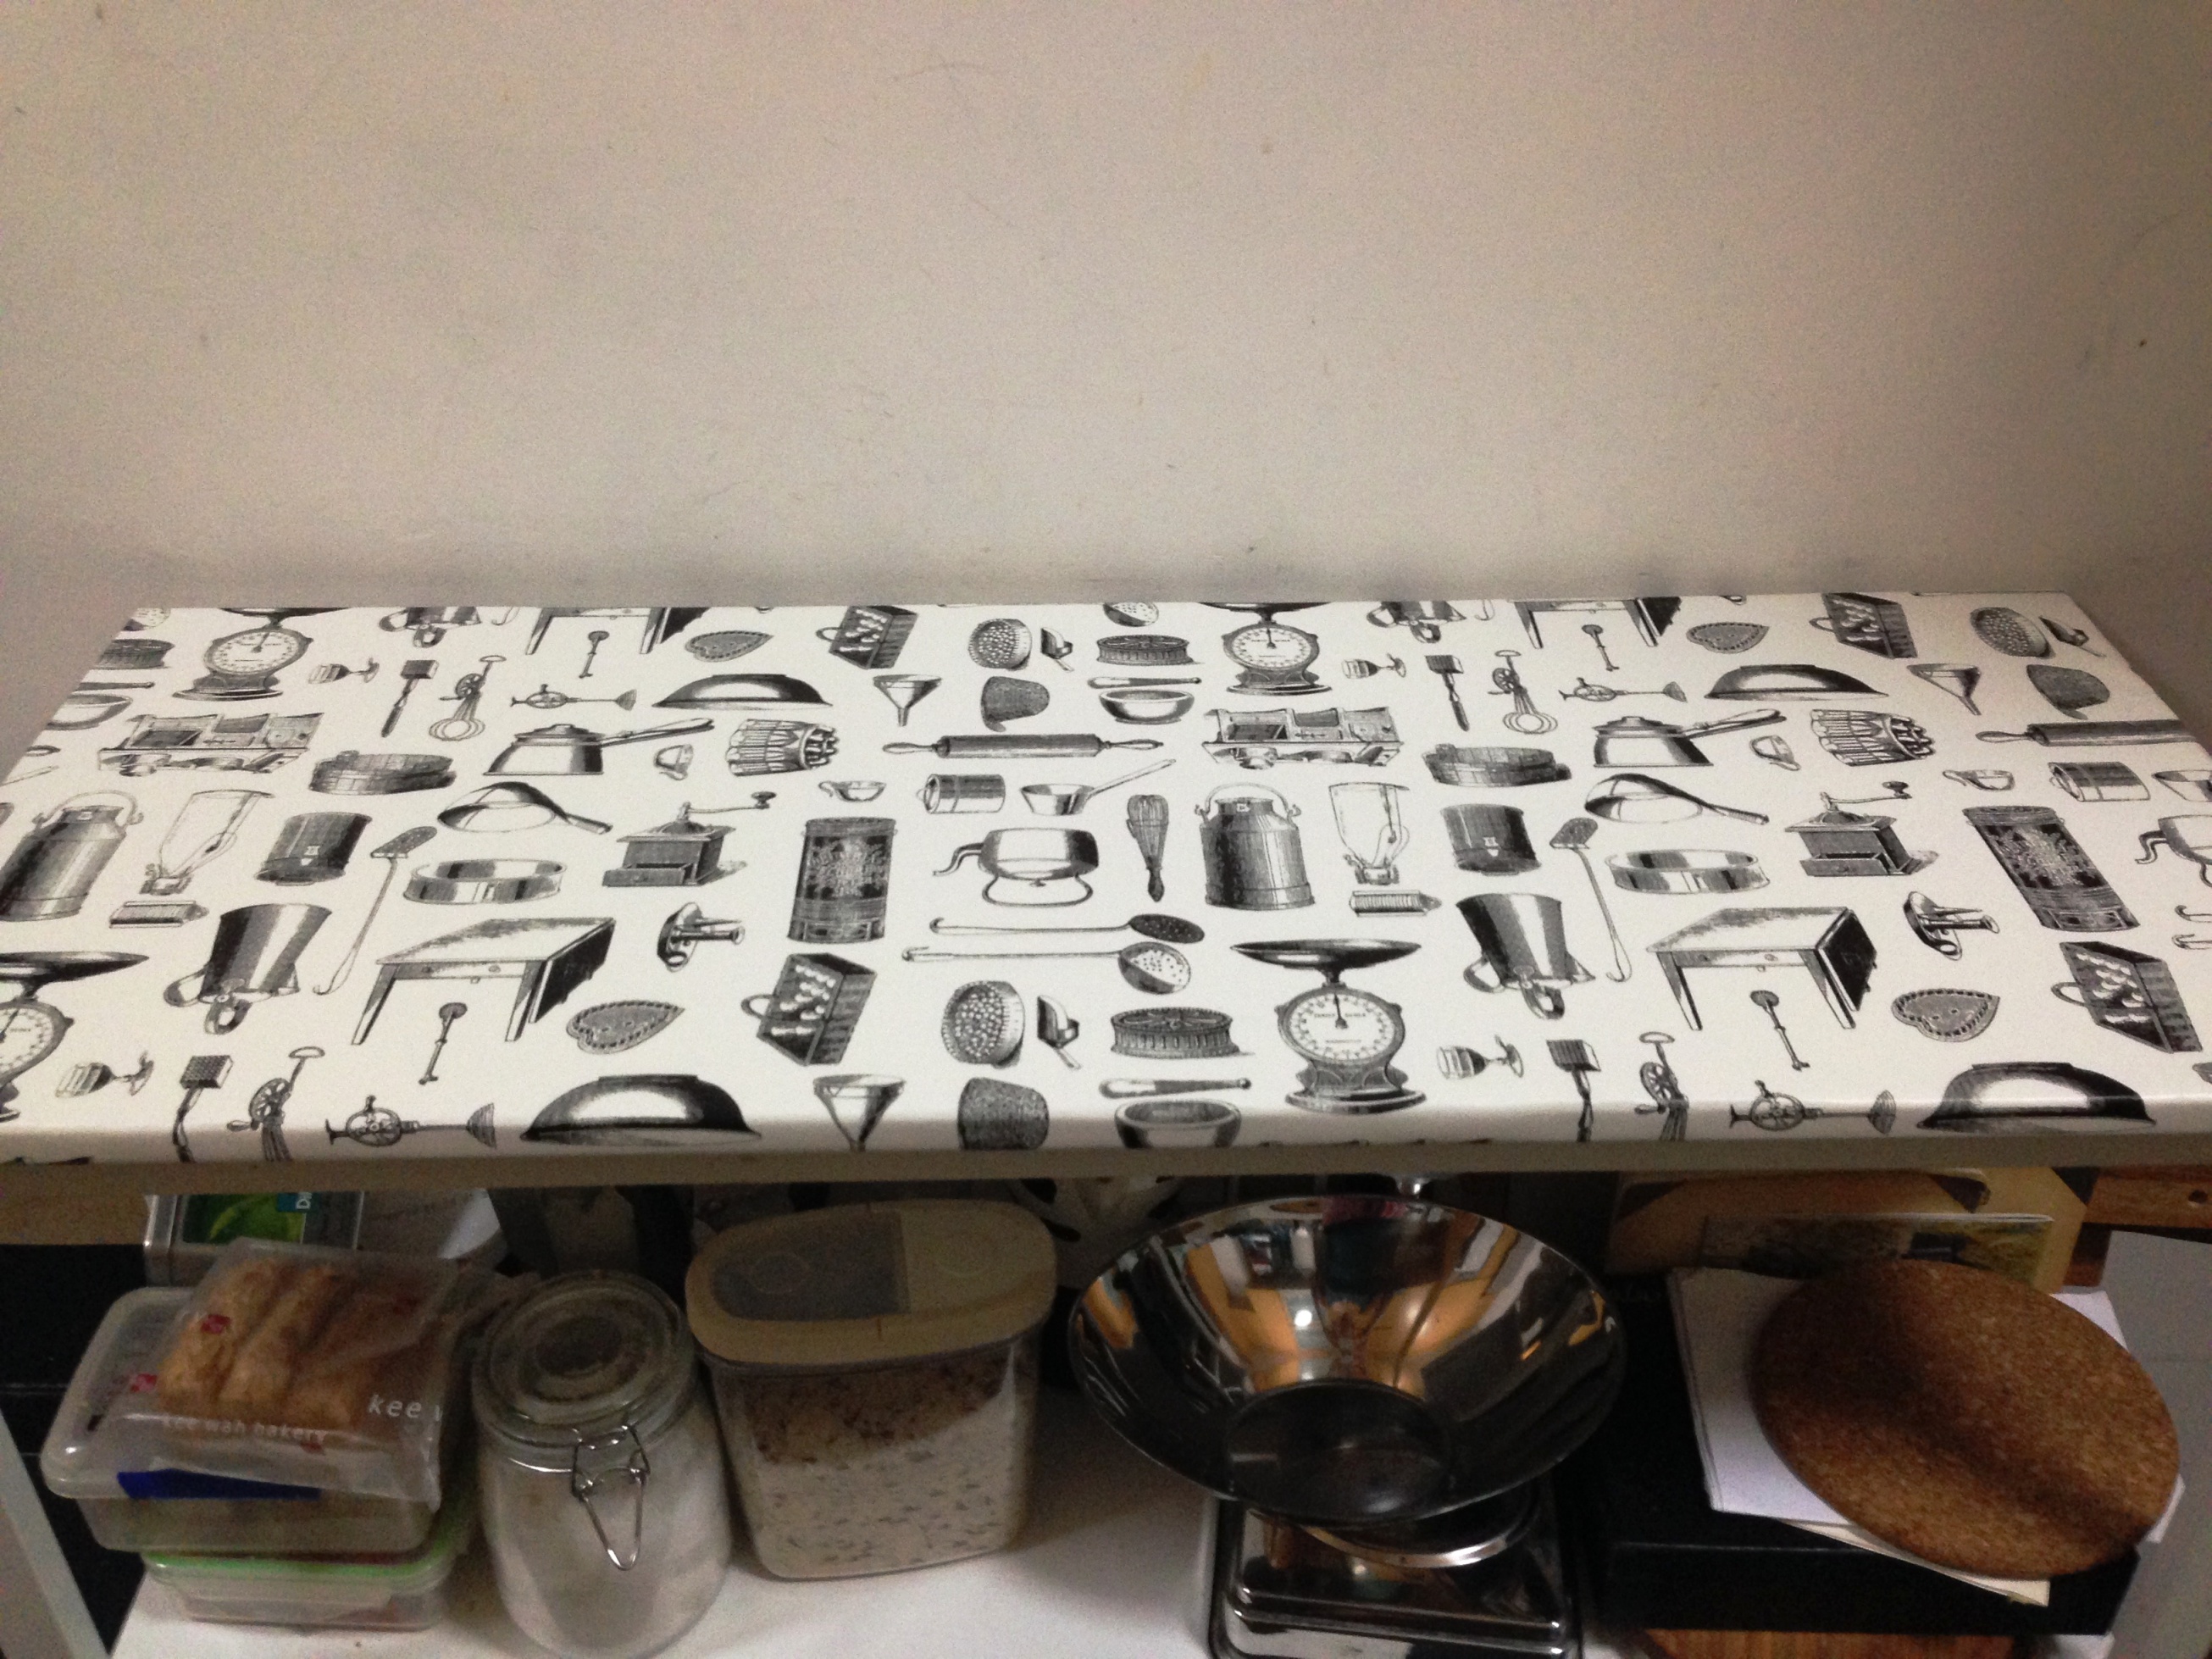
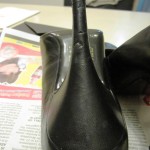
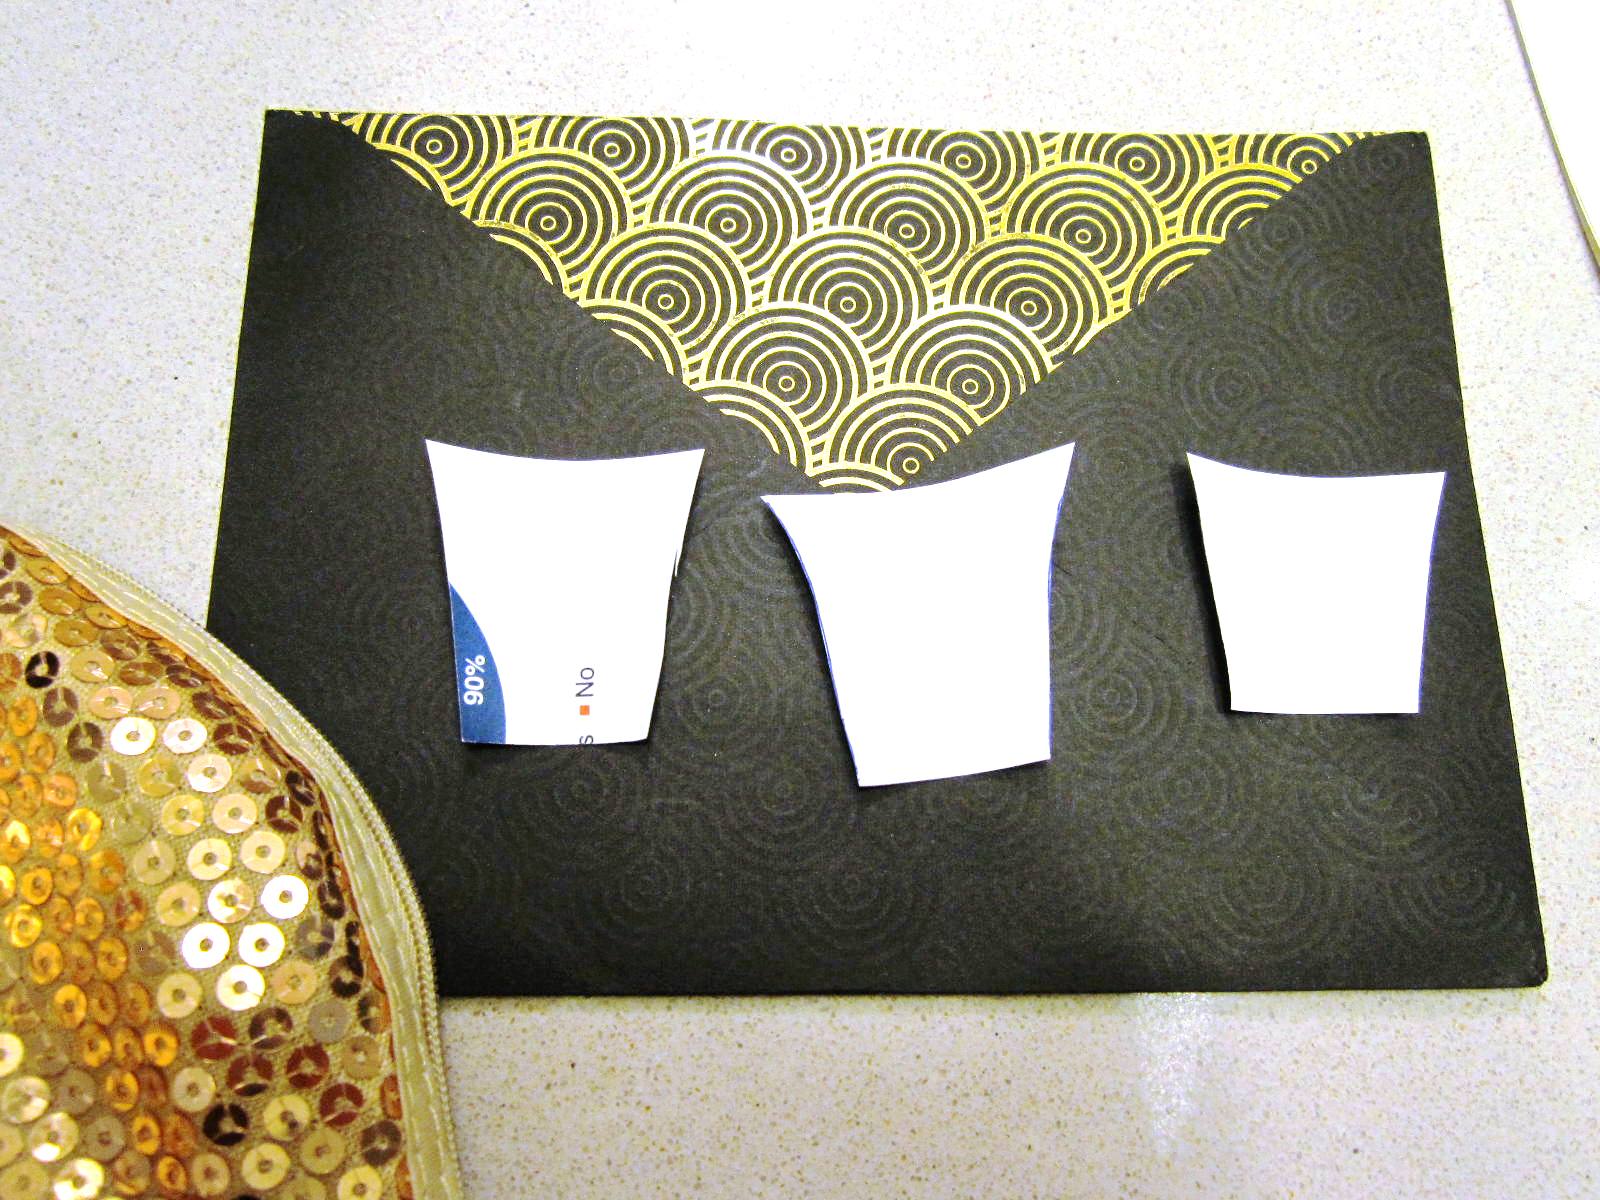
The alignment of the scales was a happy accident
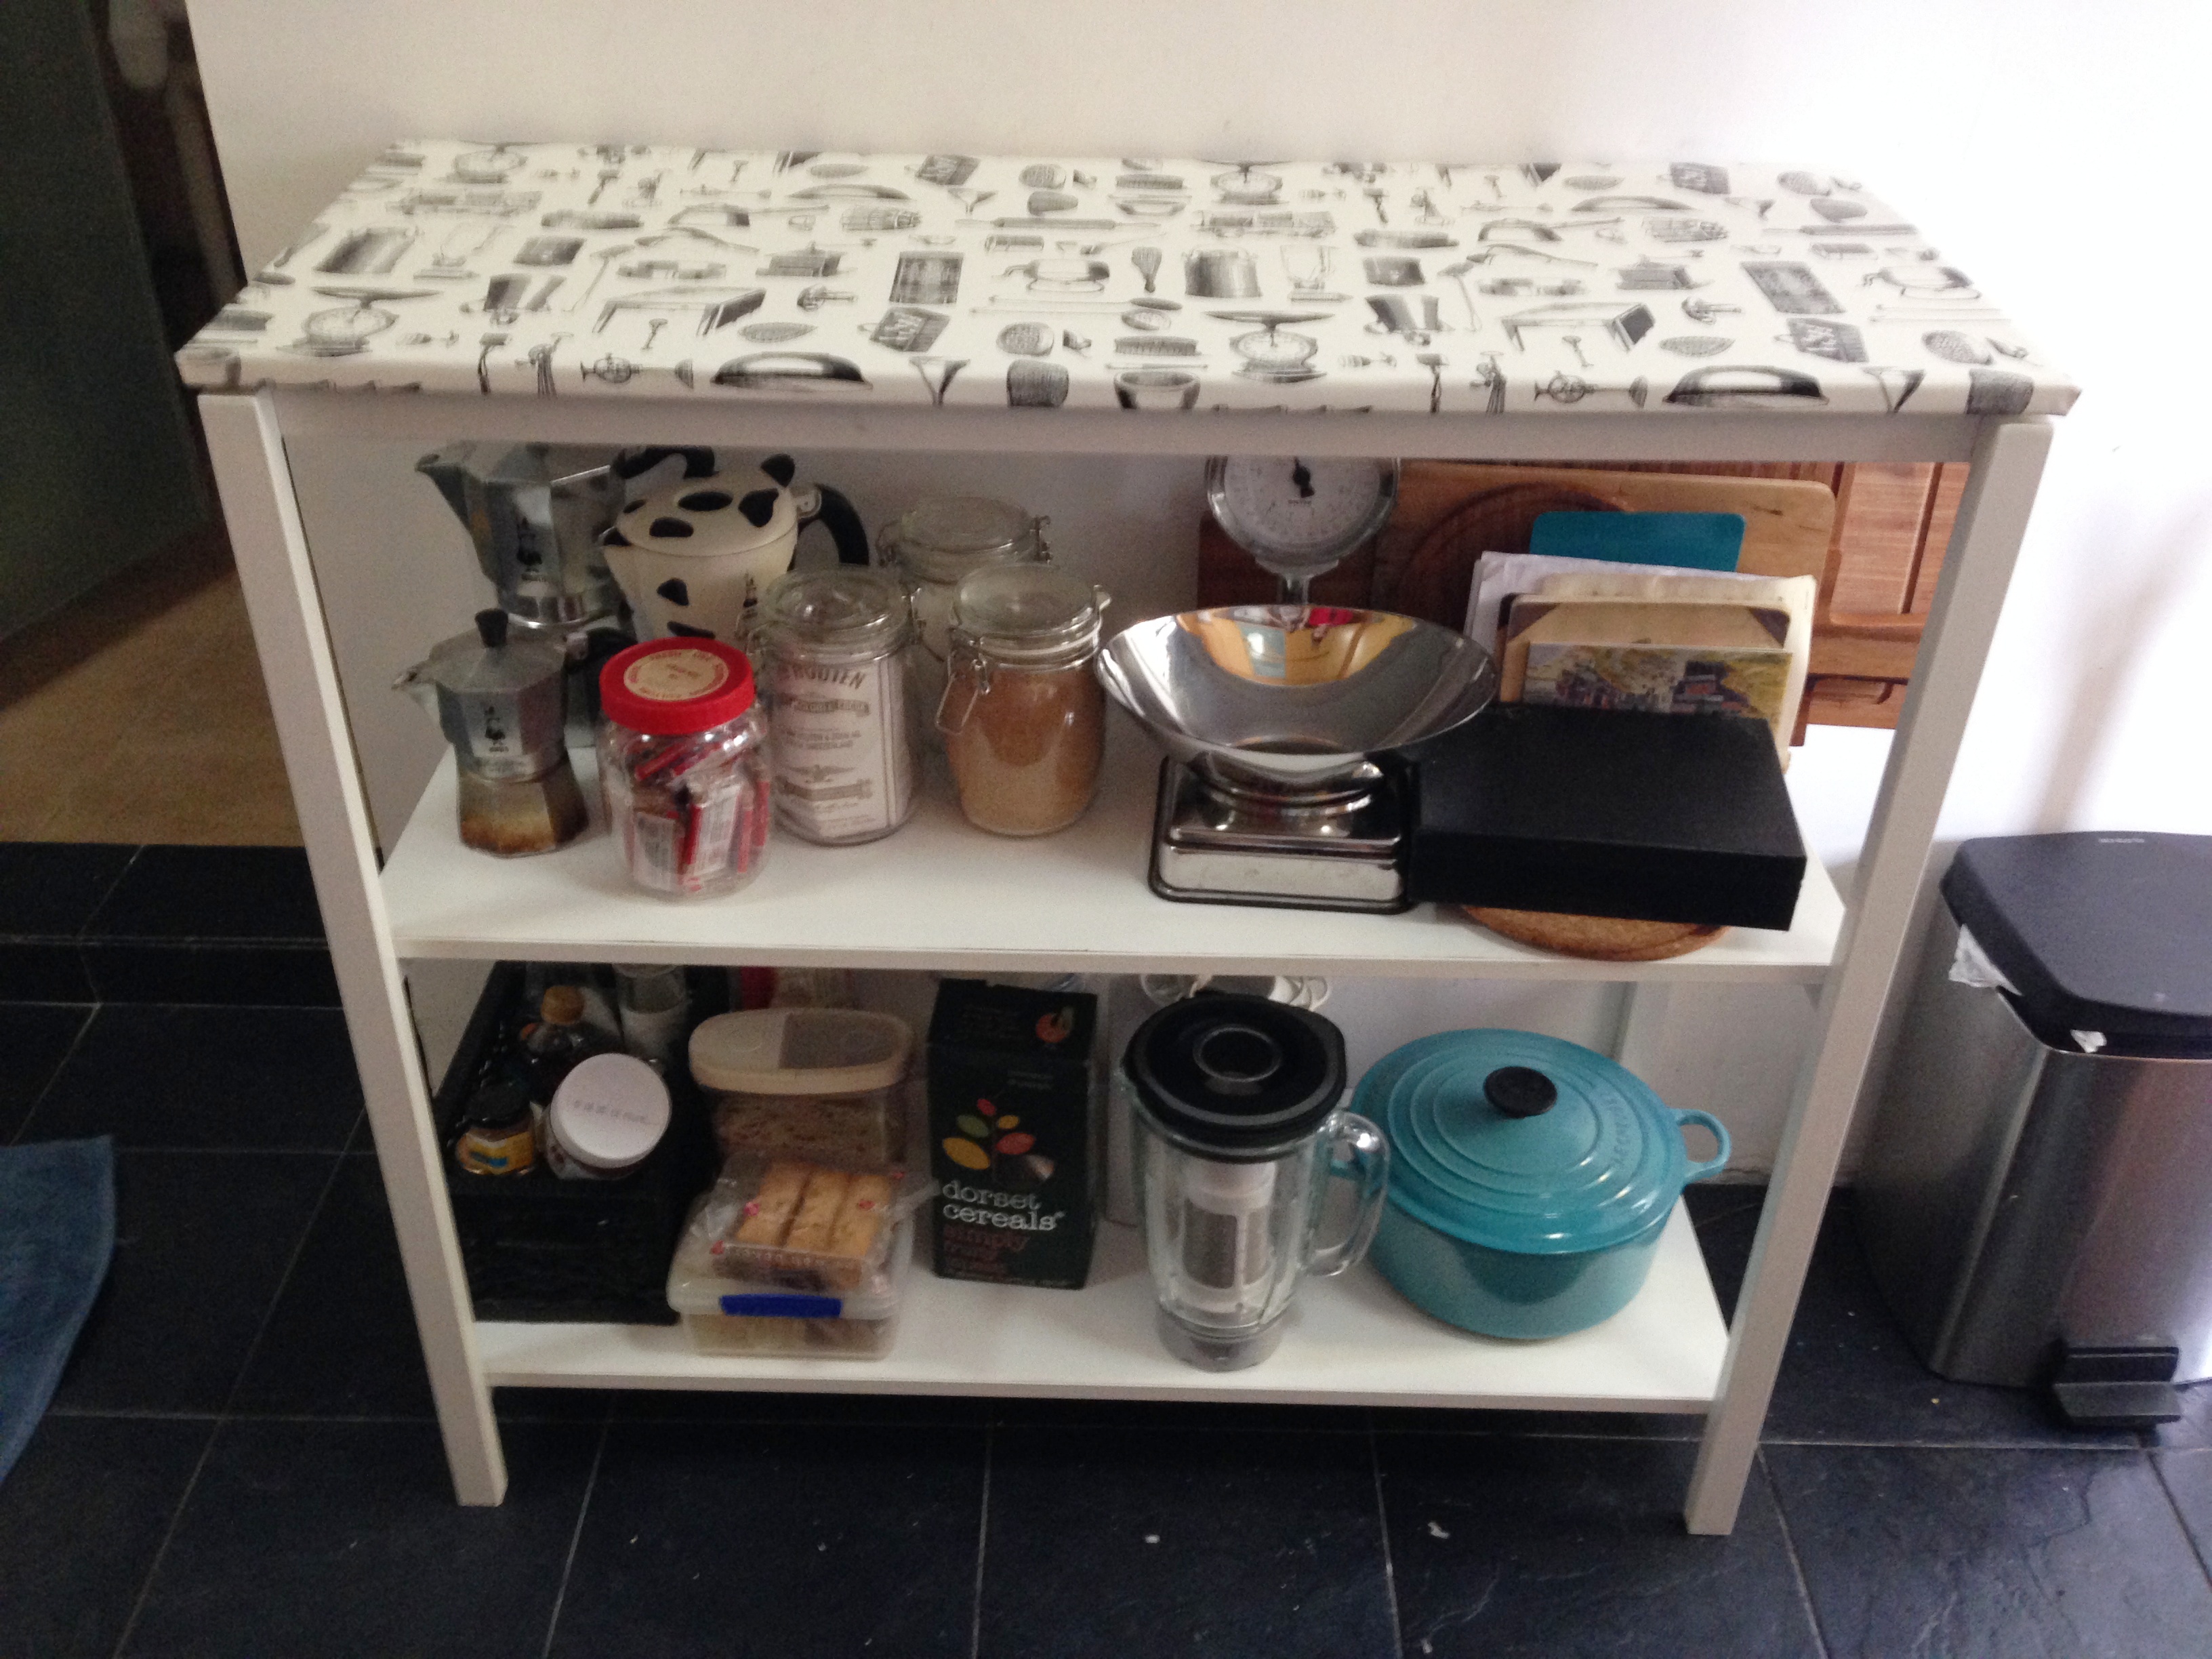
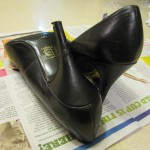
I think it stayed like this for 2 weeks?
This has shaped up to be quite a mammoth post, so I’ll leave the details of the Faire for another day!