is worth two in the bush?
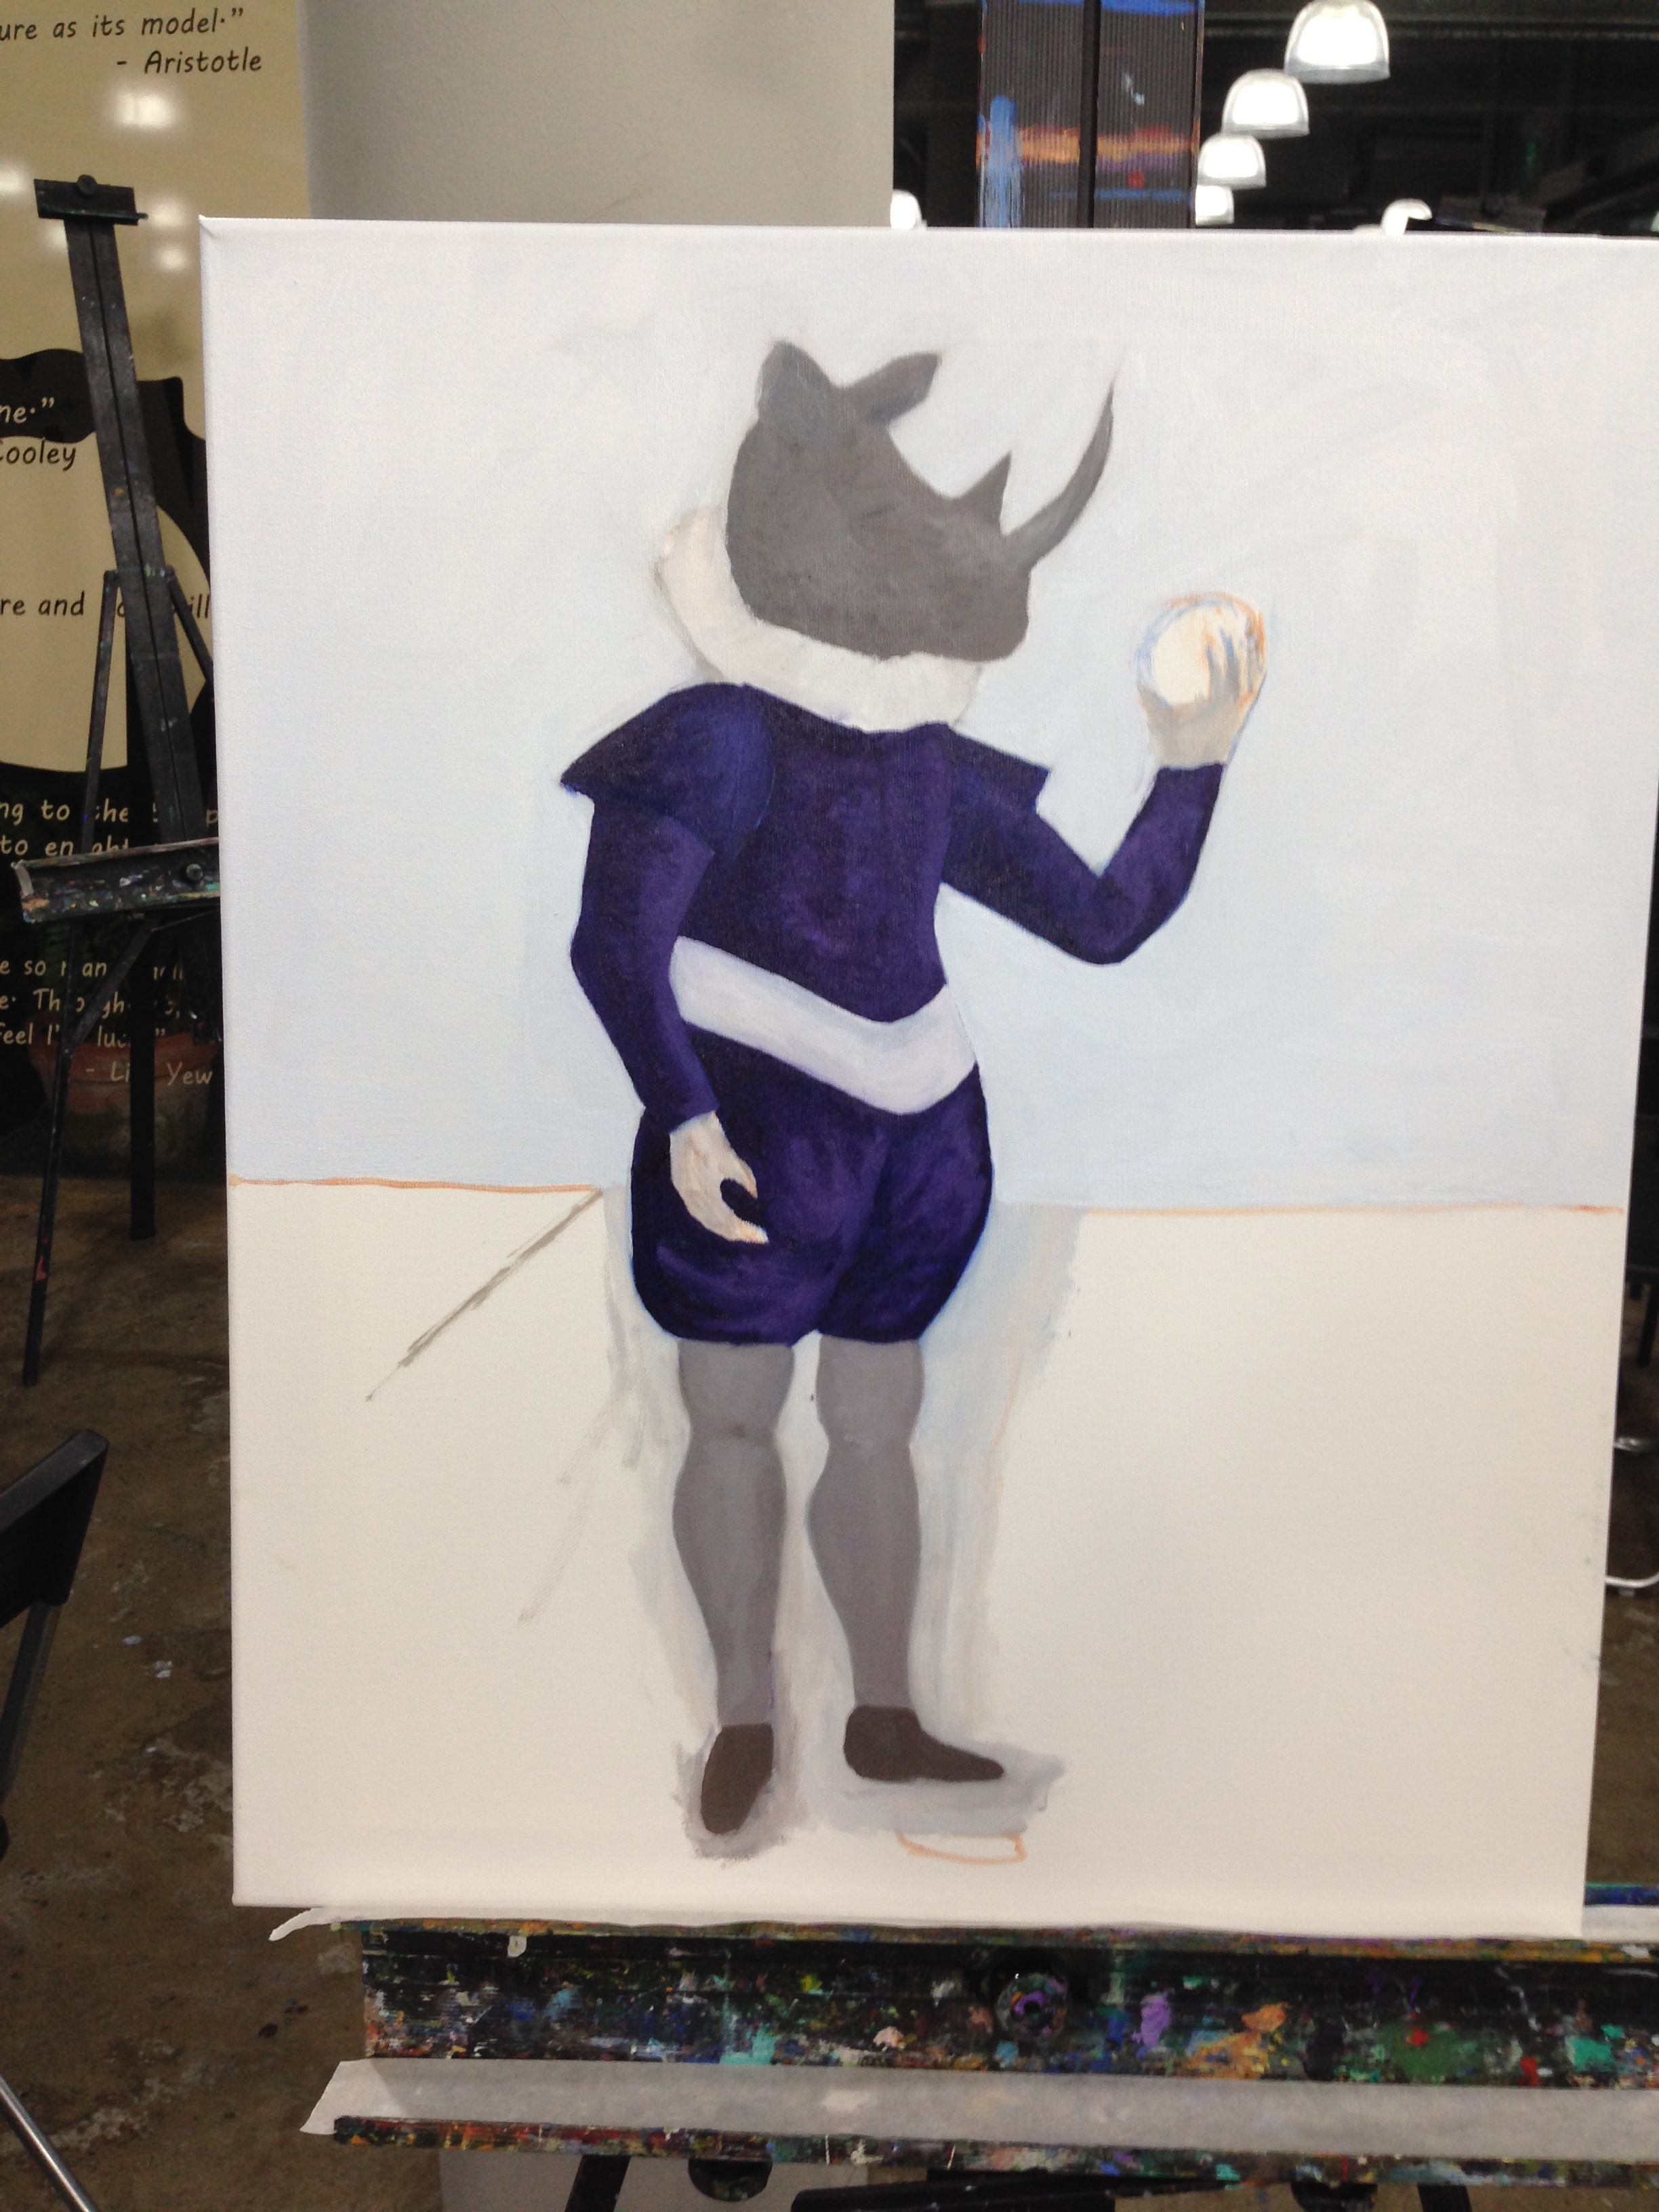
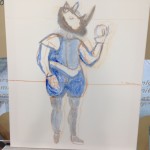
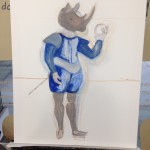
Anyway.. I knew Rhino would be holding something in his hand and looking at it contemplatively, but at first I wasn’t sure what it should be.
A crystal ball felt too obvious, although I did consider the possibility of it showing an image of Giraffe in the room(?) next door. Other alternatives were
- a pocket watch ( but maybe too Alice in Wonderland?)
- a cameo?
- baby giraffe?
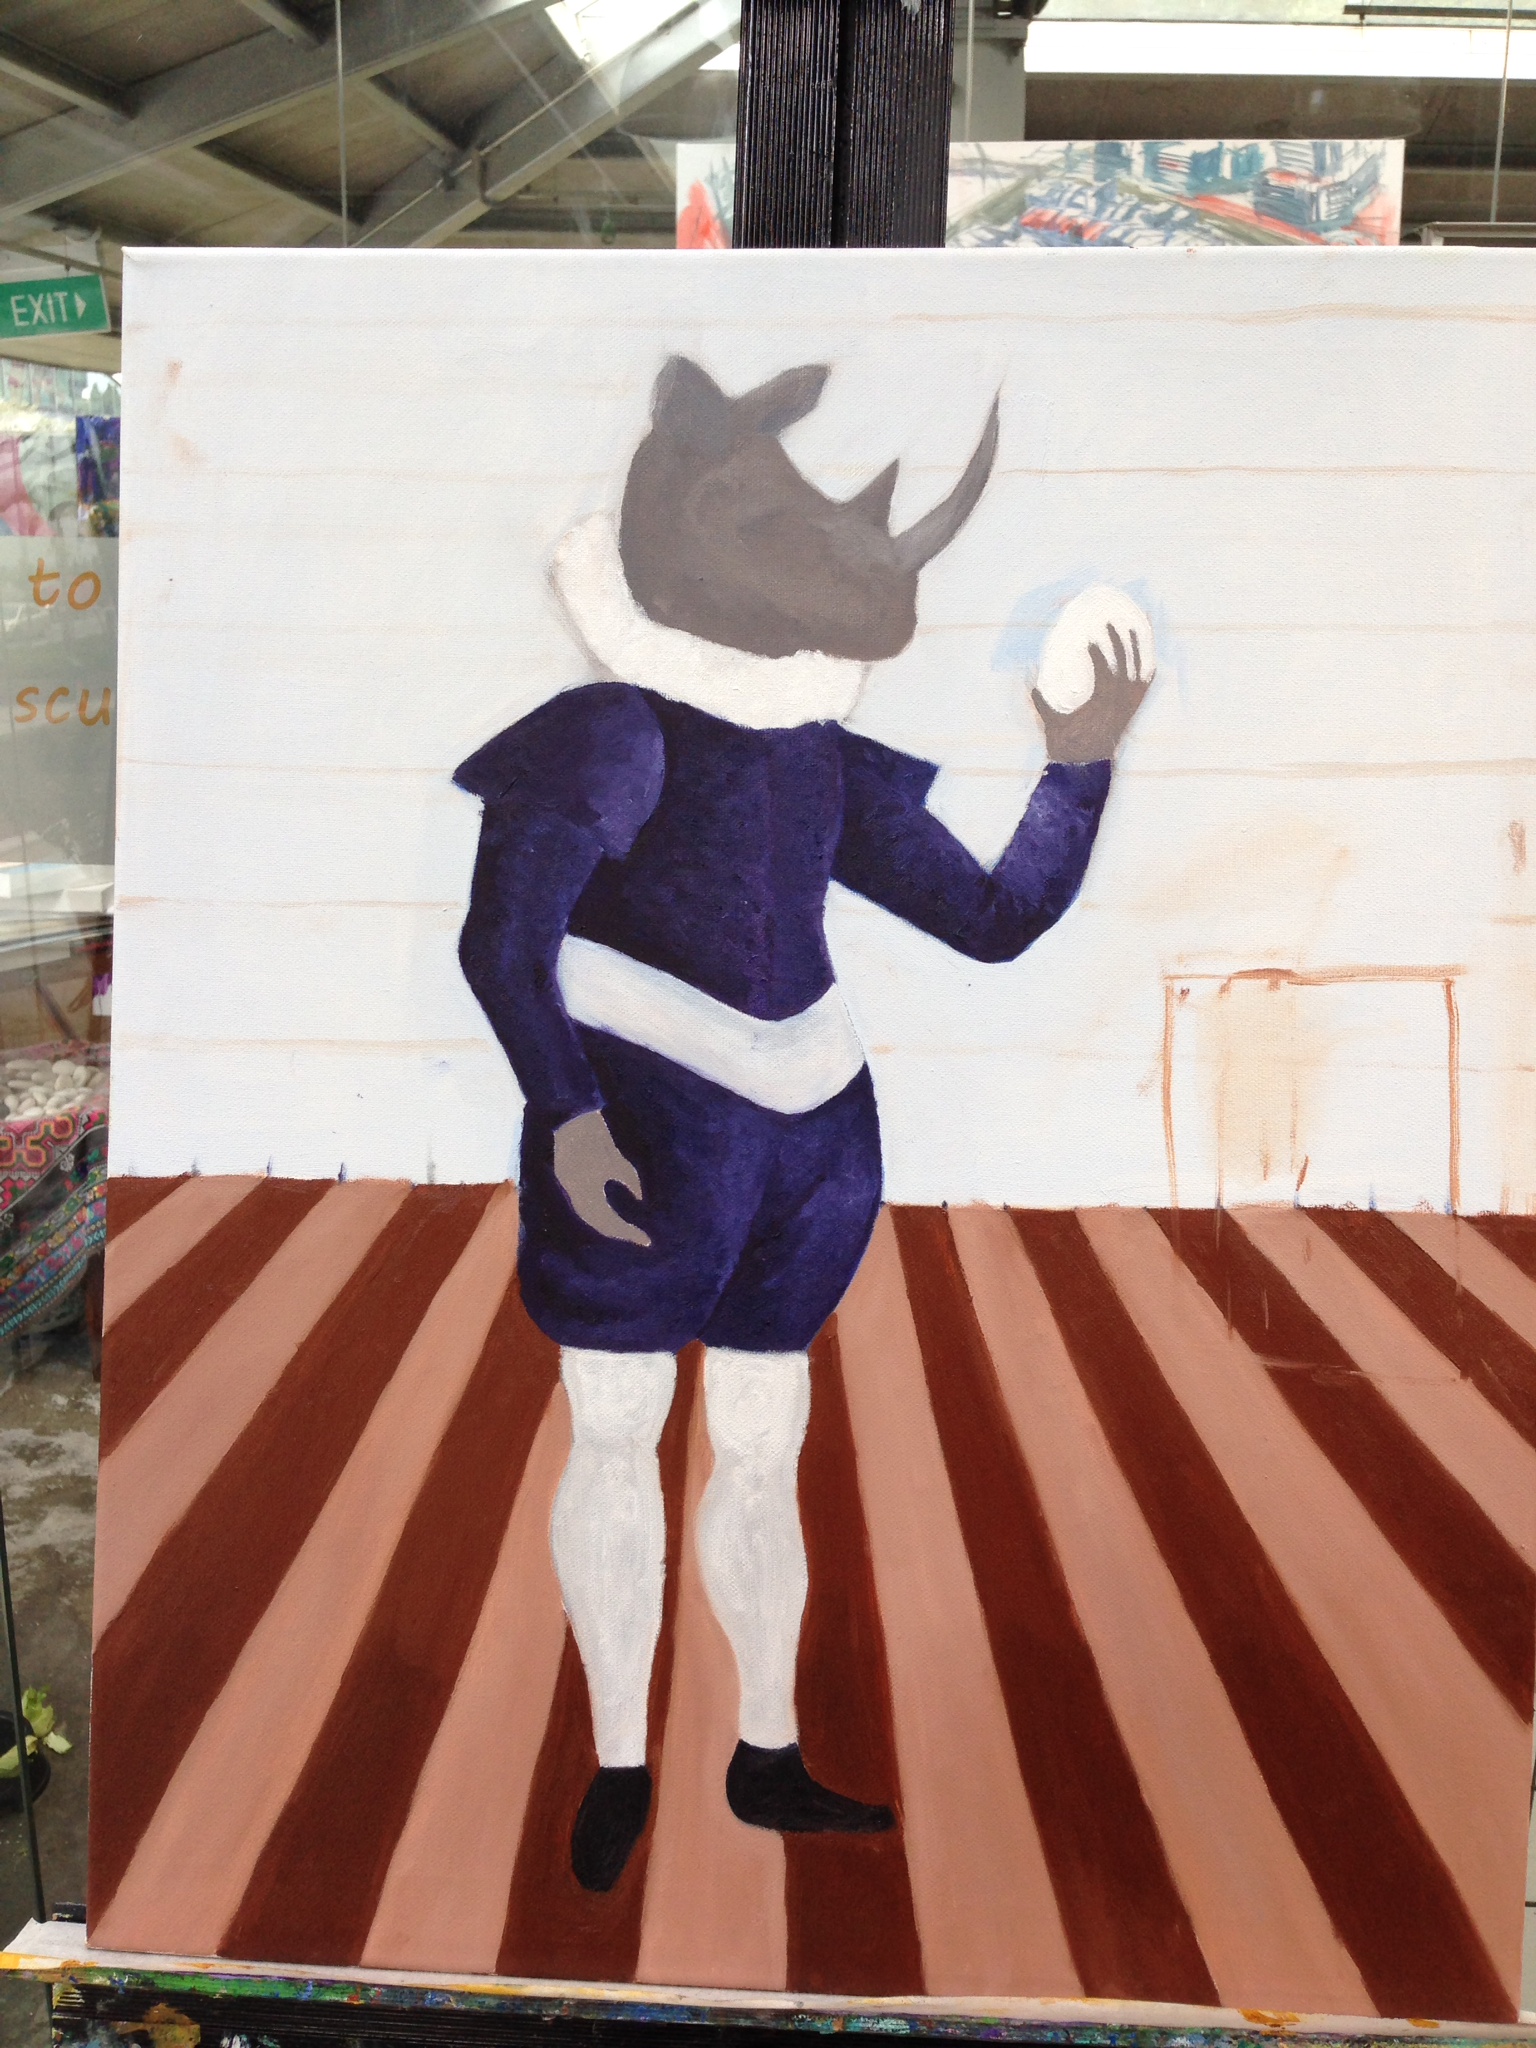
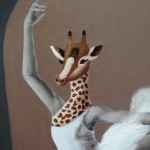
Finally it hit me – an egg!

Life in hand!
Husband John suggested that the egg could have a few cracks as if it’s just about to hatch, but I’m not quite sure yet. I think I like the idea of anticipation – of not knowing when the egg will hatch or indeed what’s in the egg ( dragons would be very cool – oo brainwave, maybe that will be the next creature in the series!).
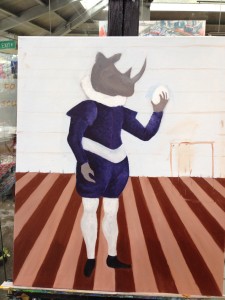
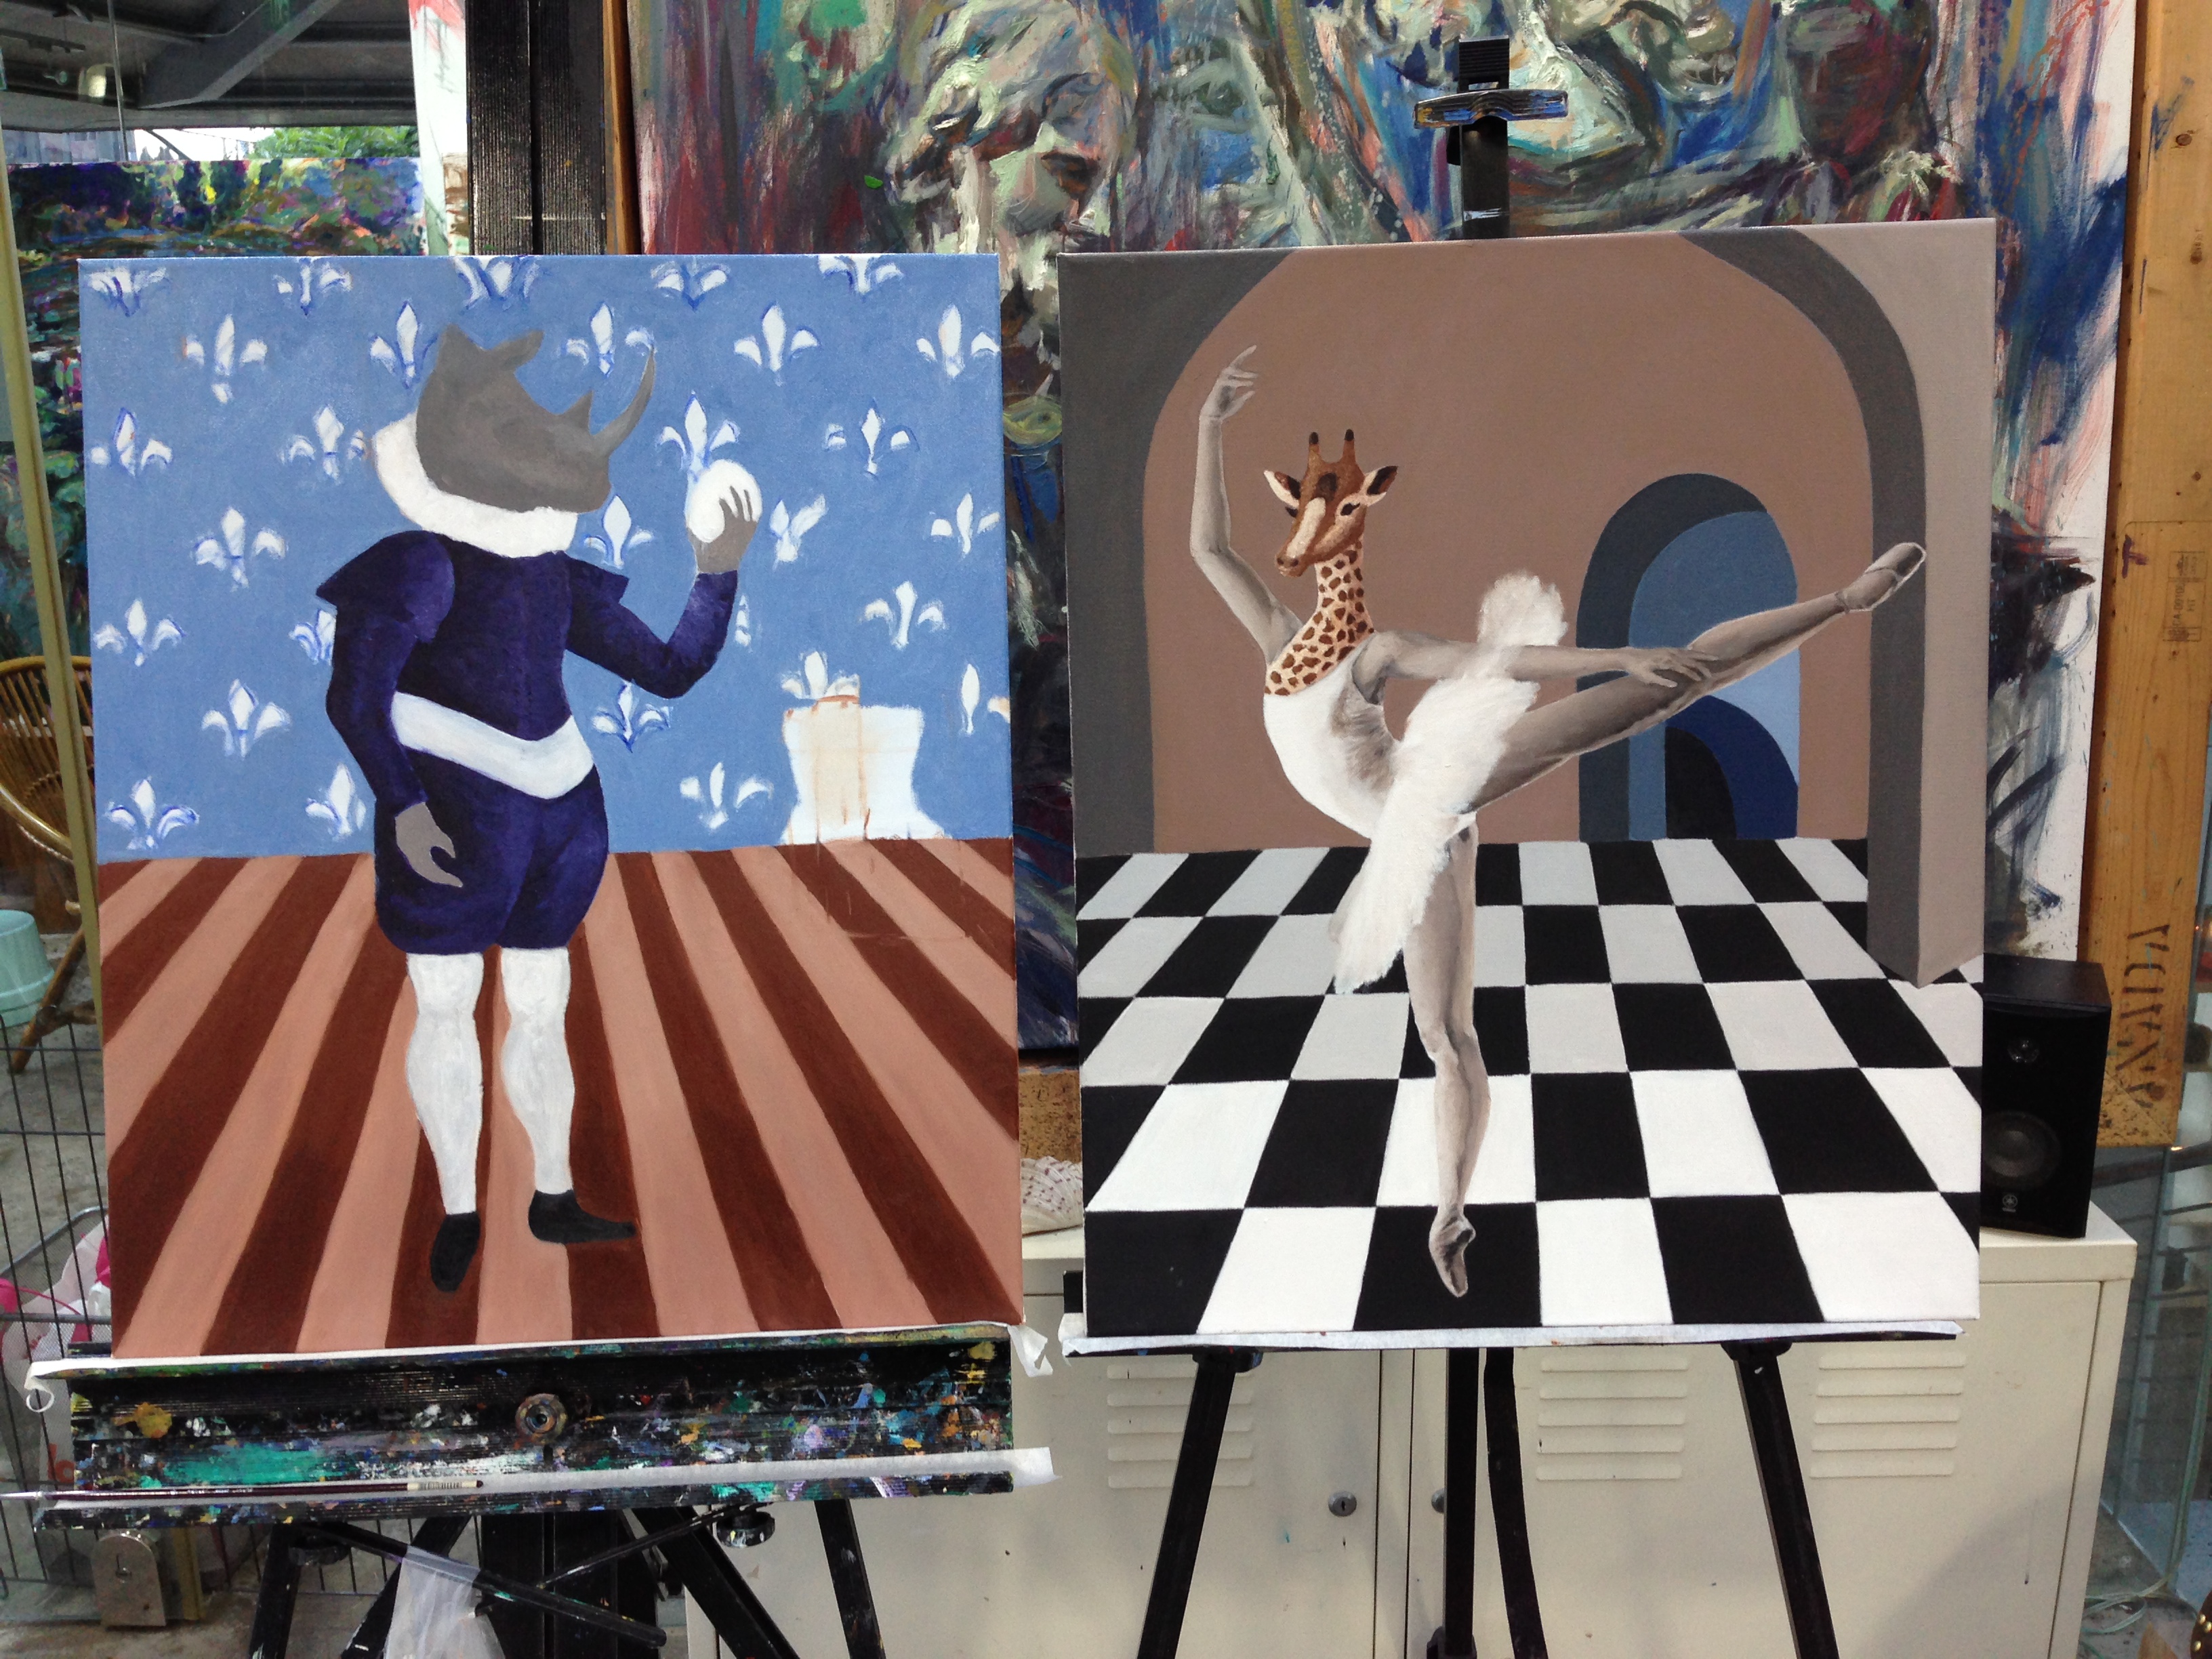
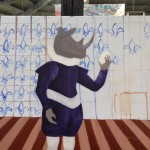
Ignore the placeholder furniture(fireplace?) in the corner
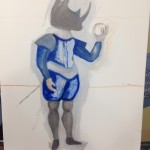
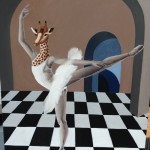
I also decided that the floor would be made of wooden planks, but I wondered if the planks should all be a uniform colour – that could make it more realistic (but with the potential for monotony), or to have it alternate colours which would be more theatrical and could relate better to Giraffe’s parlour. But then I worried that the stripes/chequerboard reference might be too literal?
I’m still not sure, but I’m rolling with it for now.
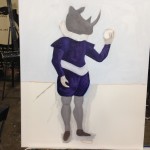
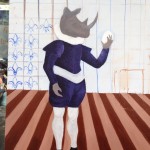
The next step was to incorporate the patterned wallpaper that had been part of the plan from day one. I considered repeating the entire pattern across the background – cue hesitation- but once the sketching started it was clear that a pattern on every grid would have made the background too busy
-
-
Wallpaper Draft #1
-
-
Wallpaper Draft #2
This is where I am now. I’m pretty pleased with my progress, but I think I do need a piece of furniture in the corner. Not a fireplace since that would mess with the lighting, but maybe a glass fronted small cabinet with something on top. One of the other artists suggested a clock so as to invoke some movement to what is essentially a static composition. I like the idea, but am not sure if it should be one of those goldy-baroquey clocks with the spinny-bit-in-place-of-a-pendulum, or whether I’d prefer to have an hourglass with shimmery sands falling through ( but would the hourglass be half full or half empty?)
I’ve considered incorporating a plant instead, but green doesn’t really feature in this series and I’m not sure if it would work.

Double studio session tomorrow so I’ll need to make some decisions asap!