Flea Fi Fo Fum

Last weekend I crossed another “I keep saying I want to do this” thing off my list  – we had a flea market stall as part of the Great Purge.

I’ve had a bag of clothes under our guest bed for a while now with the classic  “I-don’t-really-like-this-but-I-can’t-bring-myself-to-part-with-it-because-it’s-still-in-such-good-condition” clothes alongside the “I-can’t-fit-in-this-right-now-but-someday-maybe?” outfits. Like many other people, 20% of my wardrobe   Given the impending move (and the need to acquire winter great- polar vortex yikes!) I decided it was finally time to take no prisoners in my closet.

We trotted down to the flea with a suitcase of clothes, some handbags,  a basket of books and some assorted games and kitchen stuff.

Flea

Since we’re getting close to Chinese New Year here, I hung my brightest and most festive dress right in front to act as a siren call. She did get a fair bit of attention but sadly I didn’t close the sale on that one, I really should have cajoled the nice lady who bought 2 other dresses!

Our initial outlay was $85 (leaving sweat cost completely out of the question of course..) – booth rental were $50, I bought a rack off Craigslist for $15 and we paid around $20 cab fares – so I was hoping to sell $100 worth to make a bit of cake money. Thanks to John’s old violin, we managed to make a bit more than that so I was glad, but the flea market was a good illustration of the importance of location to retail. The mall was in a quiet part of town, and we found out later from another vendor that there was another flea in another mall less than 500m away which had better footfall.. At the end of they day I think the only person who made a profit were the organisers, but I’m still glad we did it before January ended!

Once it became clear that no one else was coming, we packed up and headed straight to the Salvation Army donation centre. They have a very clever “drive through” donation concept where large trolleys are cling wrapped on 3 sides, with 1 side left open for the donations.  We offloaded nearly everything ( although I did save that red dress… I know, I know) and headed home with our near-empty suitcases.  I managed to donate another bag today  to our local recycling bins so we’re on a roll, but I suspect the c. 200 books left will all be moving with us..


Bye Bye 2014

We’ve eaten all of the Christmas pudding, the turkey leftovers have been turned to soup and frozen and we’re out of champagne – 2015 is here!

I realise it is already halfway through January, but it feels like the new year has just started for us – we’ve had a succession of visitors and the last family member left yesterday. The guest sheets have now been washed and I have reclaimed the Girl Cave, so in keeping with the general tradition of the retrospective/goal setting first post of the new year, here goes!

2014 was a busy year for the Husband and I. We made separate trips to the UK to see family, visited 3/4 new places – Philippines, South Africa,Macau and Hong Kong (a repeat visit for me) and were lucky enough to have lots of our wonderful friends and family visit throughout the year, culminating in both sides of our family coming together for the first time ever for Christmas dinner – 9 adults and 2 kiddywinks, ages 14 months to 70!

Professionally, half the year felt a little bit like being in a waiting lounge since I knew in February that I would be leaving the lawyerly life behind to join our credit research team in September. I think I probably stopped working on new PE transactions in June, and thereafter it was lots of tying up of loose ends, clearing emails (oh the emails…) and trying to ensure I left behind good handover notes – no one wants to be That girl! On the creative front, I felt that my painting skills had a growth spurt over the course of the year. Although Project 48 wasn’t exactly a resounding success (but seeing as I subsequently decided to take exams and change jobs, I shall cut myself some slack :)) I did manage 24 projects in the end so depending on the curve perhaps I scraped a pass?

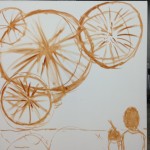
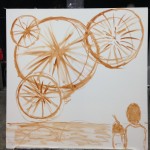
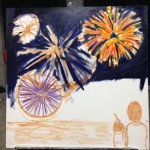
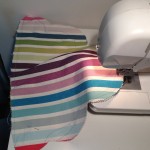
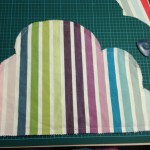
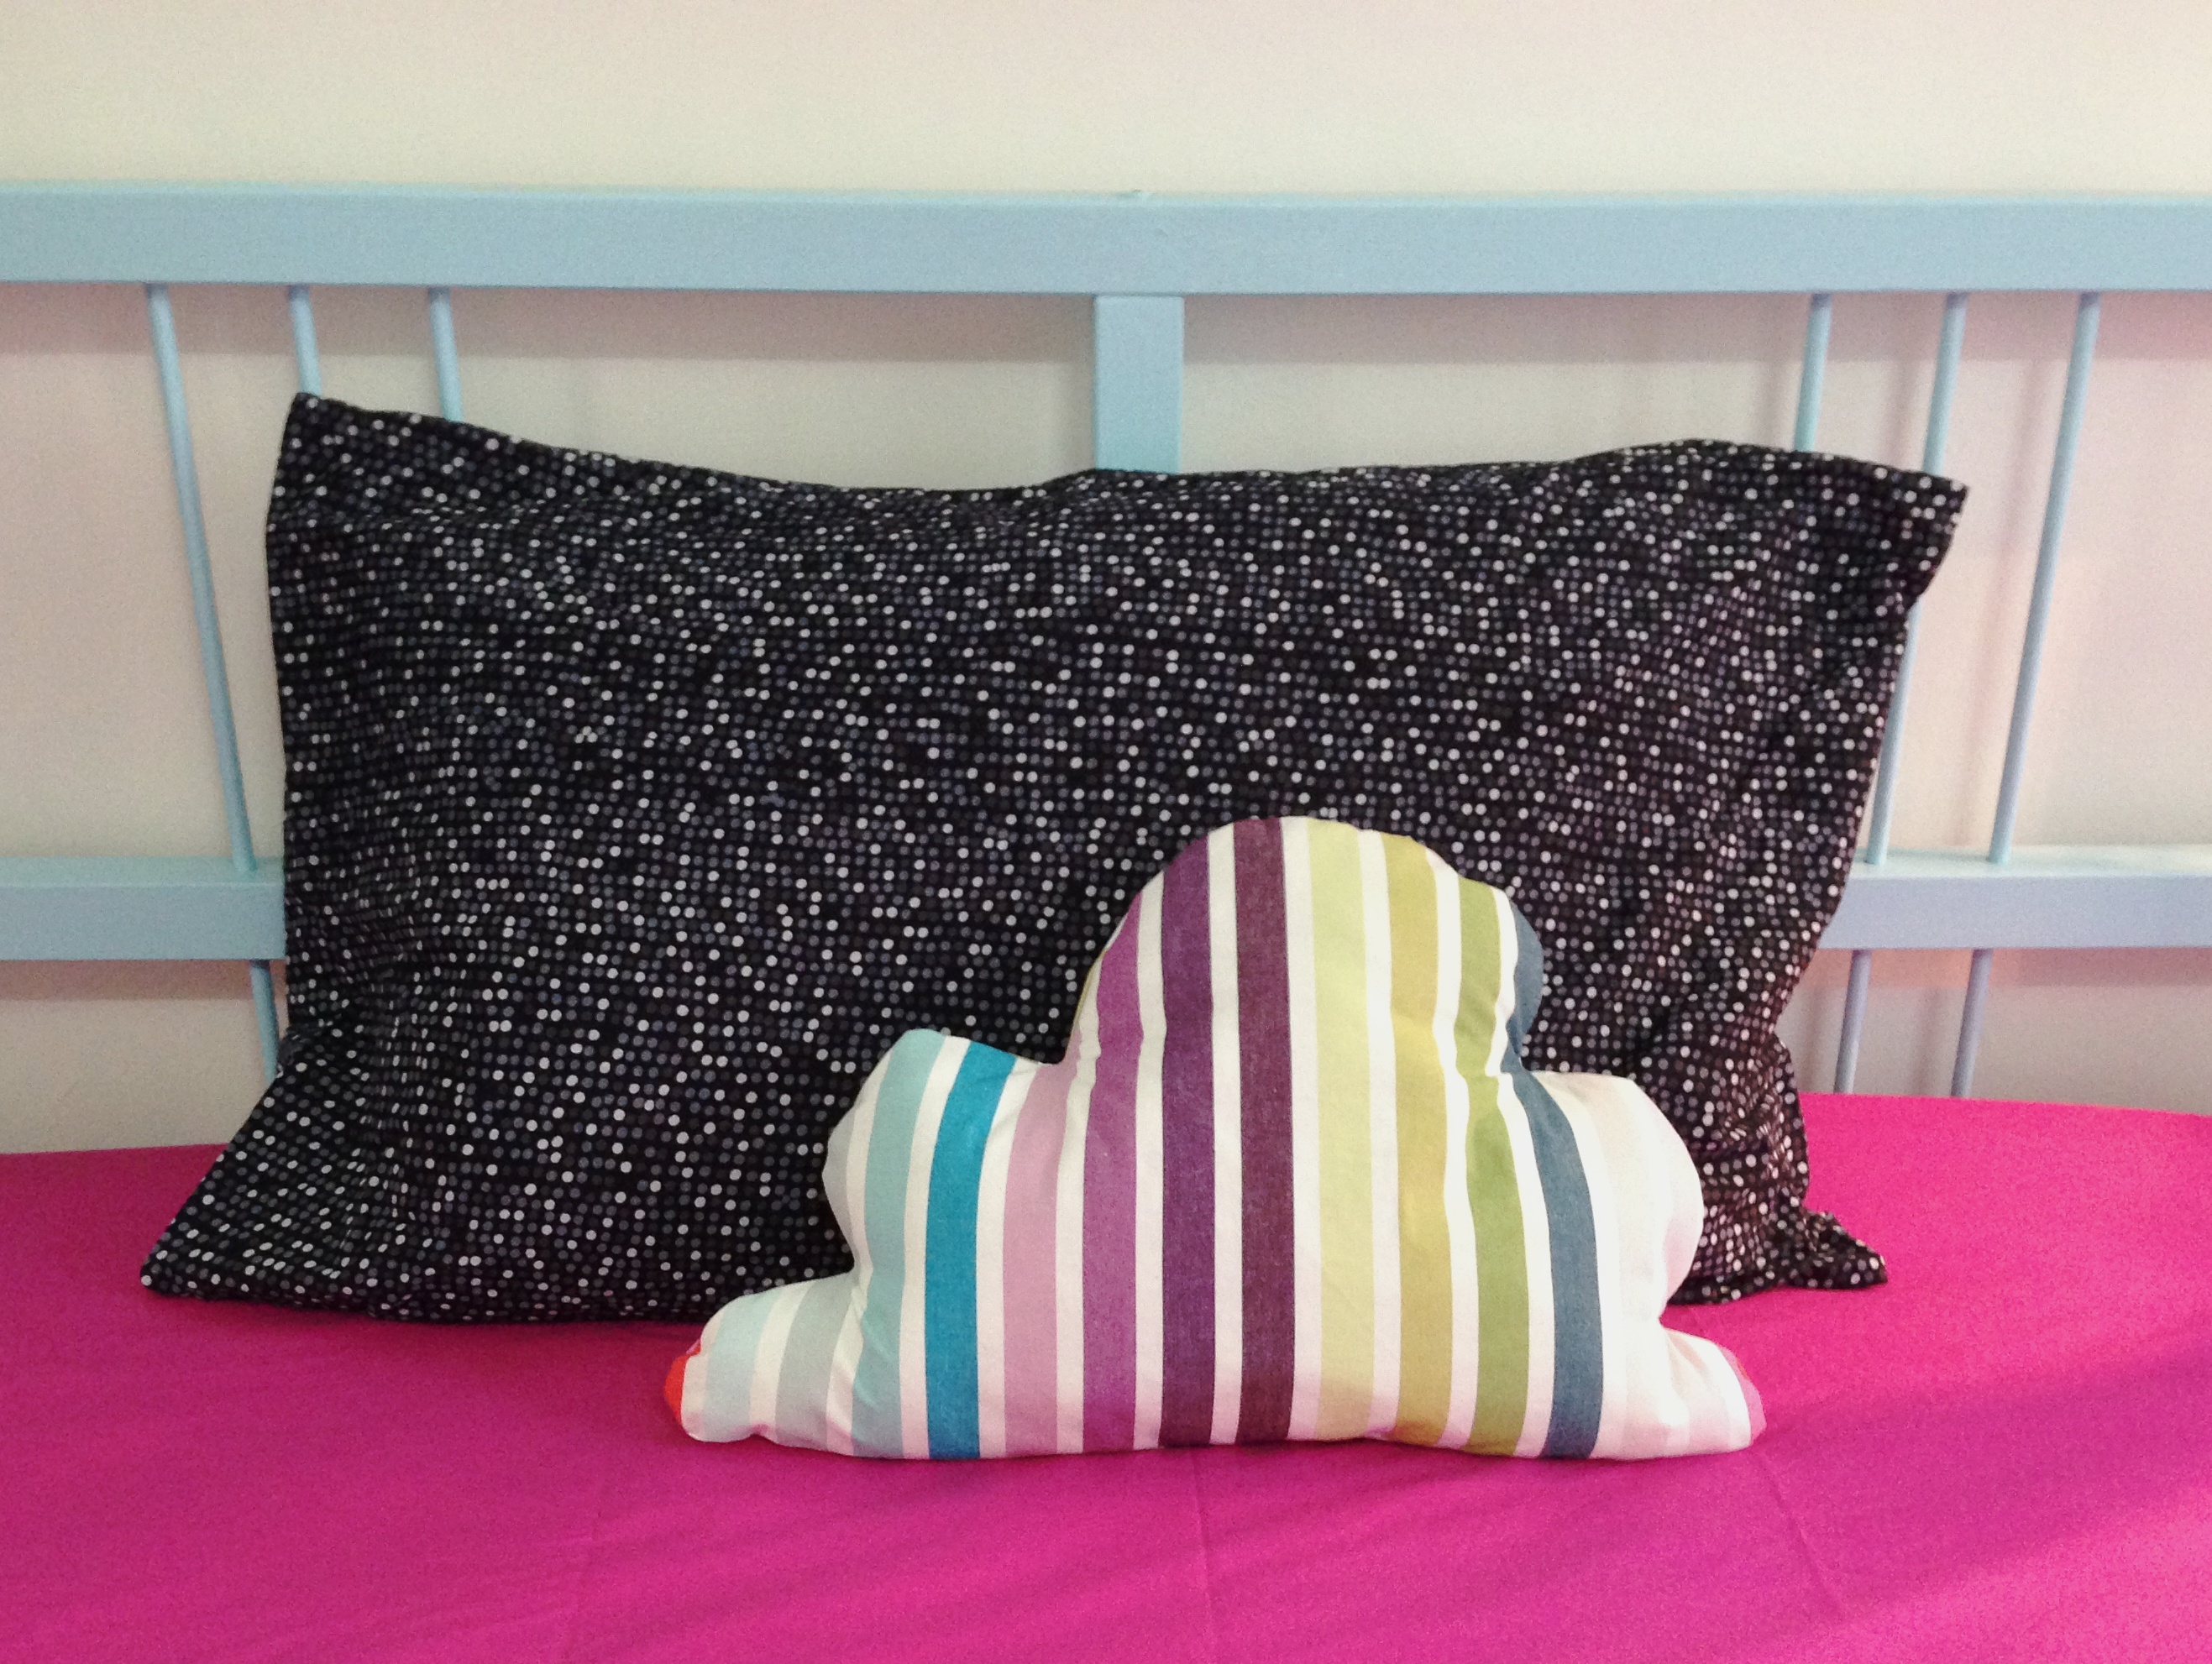
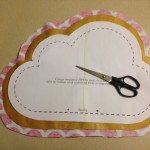
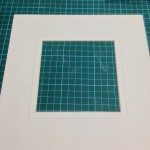
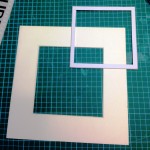
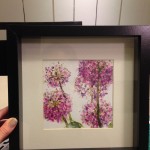
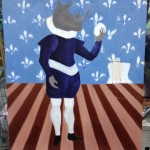
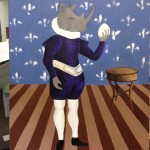
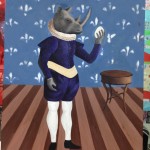
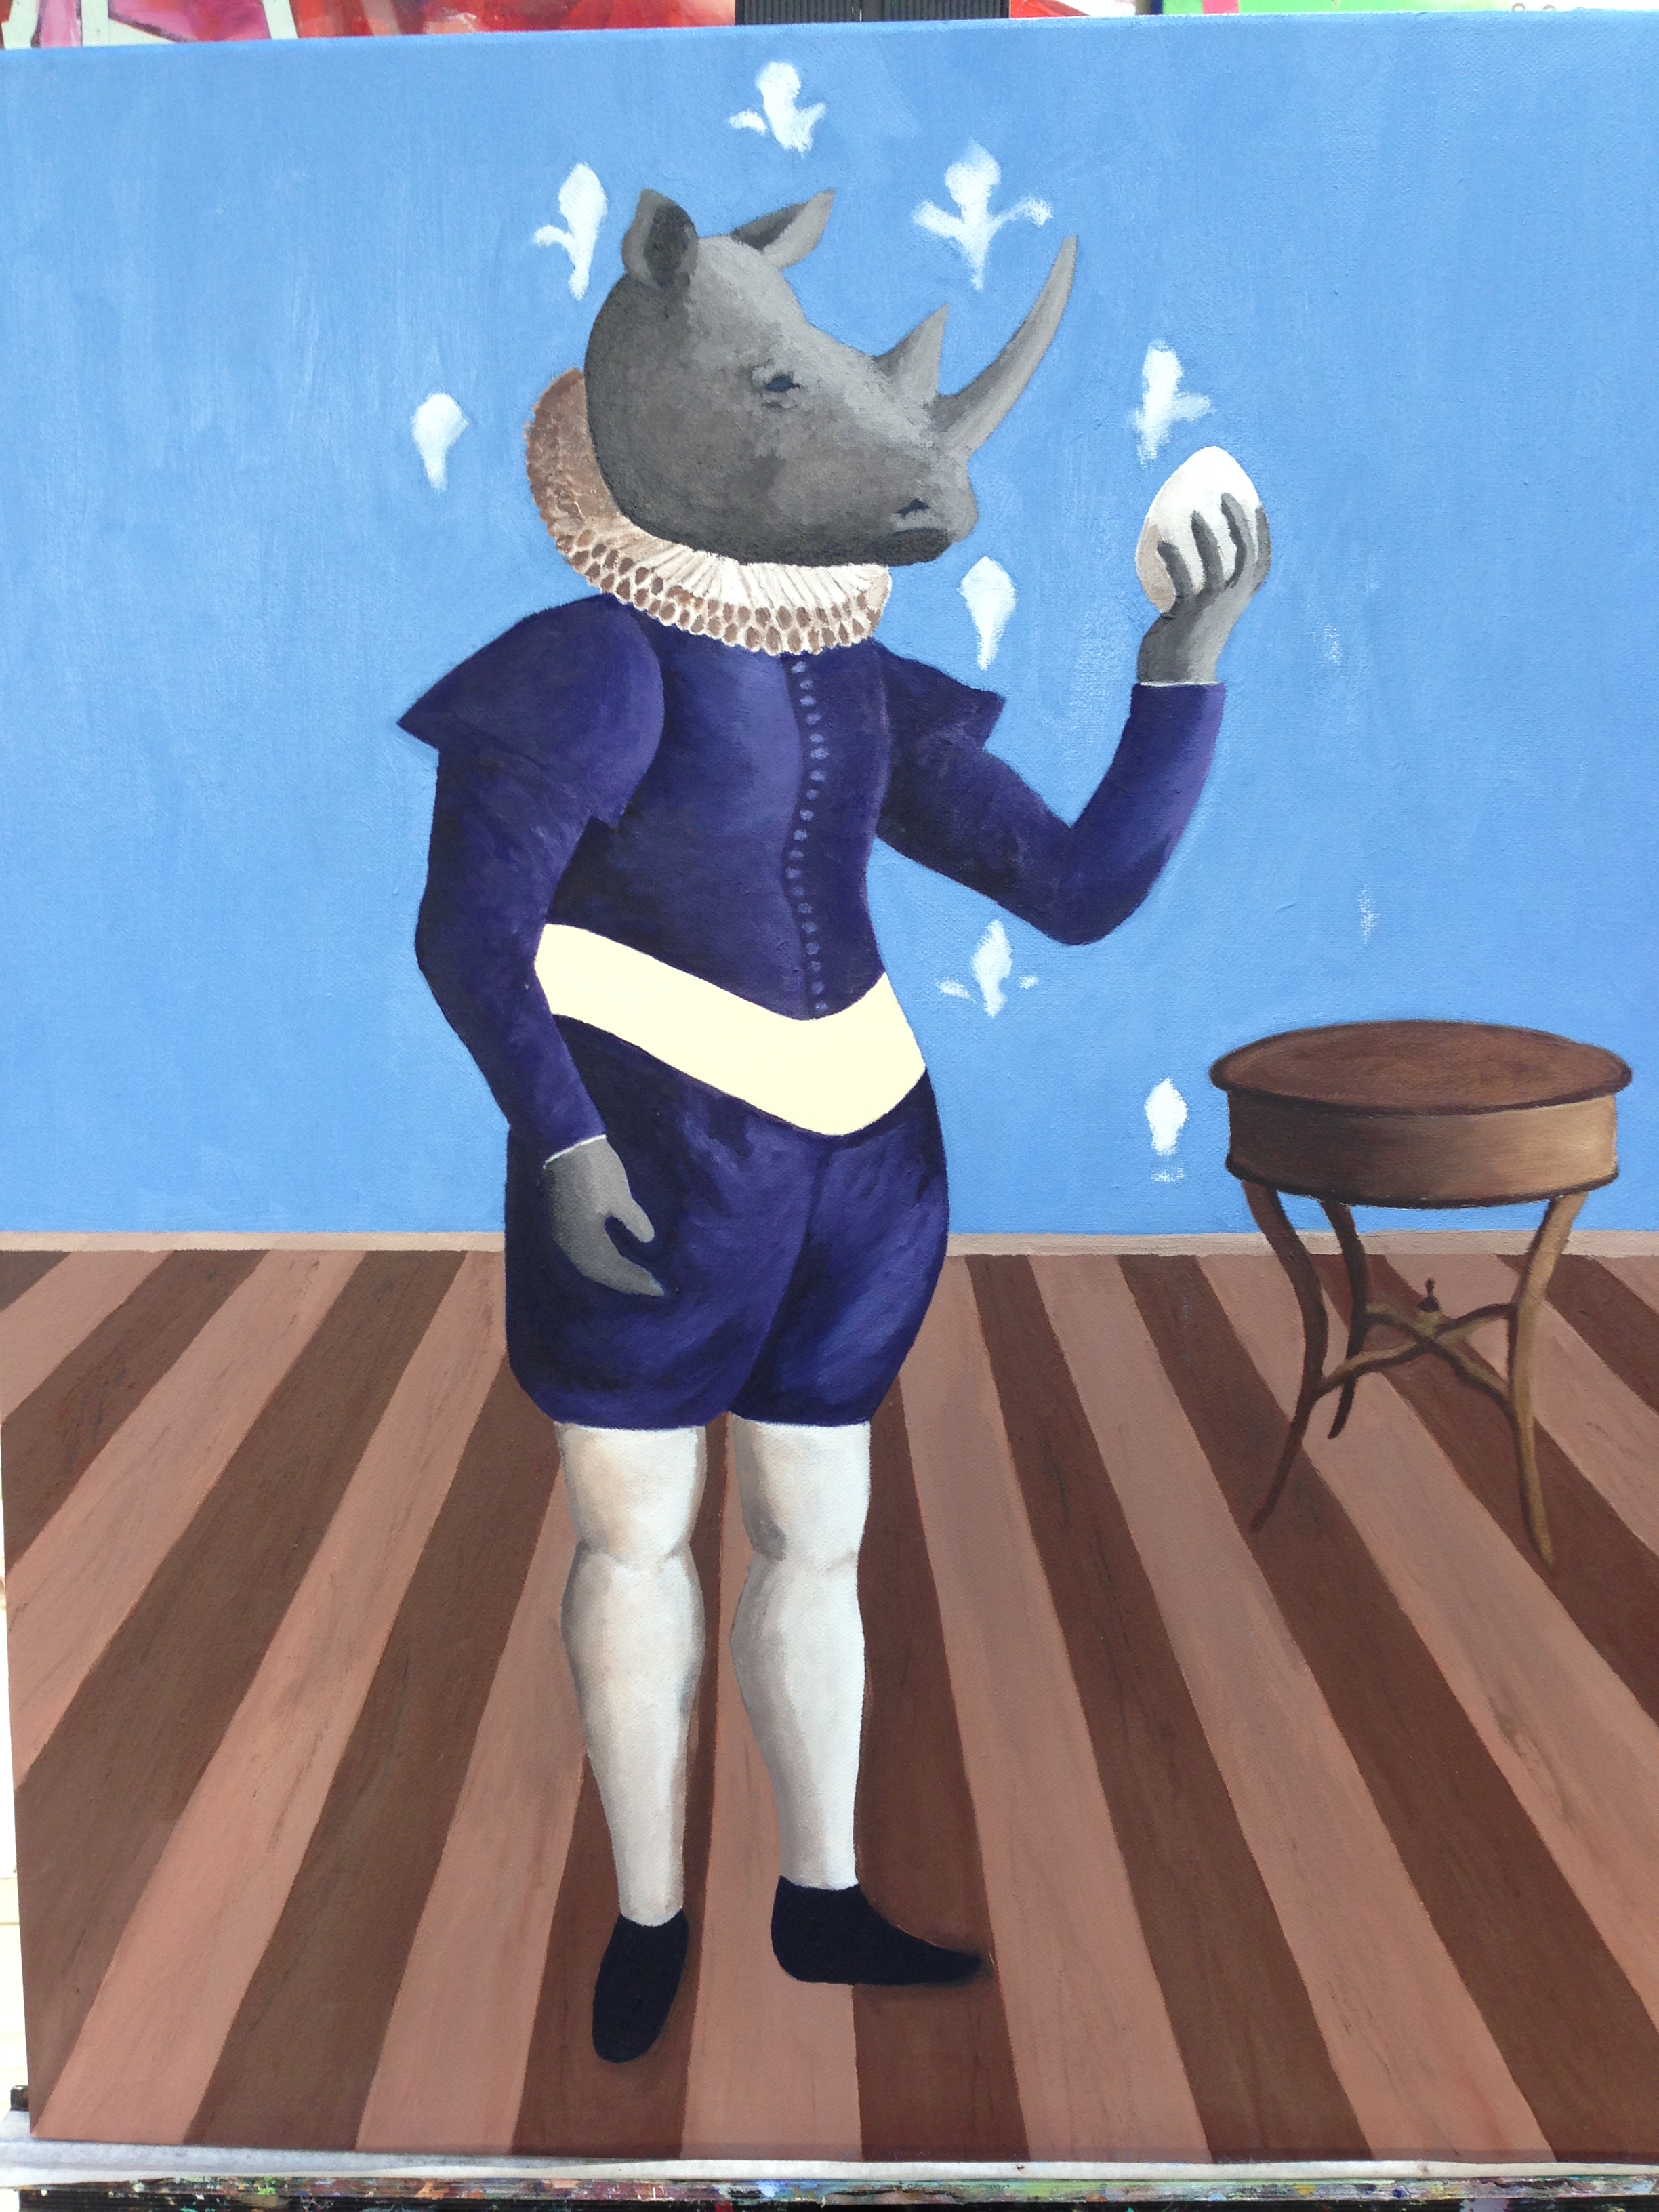
As I think I’ve said before, the idea of Project 48 was to try and make Making a fixture of daily life – i.e. elevate it to the status of tea and red wine, instead of something I did when I had spare time. Out of the 24 projects, I think my favourite projects were without a doubt my first original works – the giraffe and rhino paintings. After almost 5 years after my first introductory painting class, I feel like I have crossed some invisible line where it wouldn’t be entirely illegitimate to refer to myself as an artist, even if I might add the qualifier “weekend” in front.  I kept to a steady schedule of roughly 6 hour-long weekend painting sessions until the final months of intensive revision had to kick in. I did go on the odd weekday, but generally I don’t like painting at night as I feel the studio lighting isn’t bright enough for my myopic eyes. Making more effort to have a specific plan for what I wanted to achieve at each studio session also made a difference. Of course, there were many days when things didn’t go quite to plan. Sometimes my colour-mixing mojo was absent and it was was two steps forward, three steps back. Sometimes my hands shook and I couldn’t get the level of precision I aspired to (Hint : I learnt that that fine, short handled brushes were essential). Sometimes the textures or shadows or contours just looked wrong. More importantly, taking the time to plan was a different approach from the days that I would turn up and spend the first 30 mins prepping and staring at my canvas trying to decide what to do. At the end of the day, looking at something that I had dreamt up and made all by myself was really satisfying – especially since it looked exactly as I wanted it to – something I can’t always say about my baking or sewing projects! This year I’m excited to start painting at home – the Husband got me a lovely easel for our anniversary which shall be set up in the Girl Cave this week.  Another highlight was the SG Maker Faire. I had so much fun preparing for the fair with mum, that it did make me feel a little sad that we do not live closer together, and indeed I’ll soon be moving further apart.  To a different continent as it happens..

2014 was also the year I turned 30. Whilst I am not gnashing my teeth at the thought that the “Things to do before I Turn 30″ bucket list is now gawn, gawn, gawn ( just like the fifty dollars), but I do feel a little Jack Bauer-y. So given we’re not getting any younger etc etc *yawn*, and more importantly, the fact that 2015 is going to be The Year We Move to New York (!), I figured I’d best encode some lessons in me before we start our next adventure.

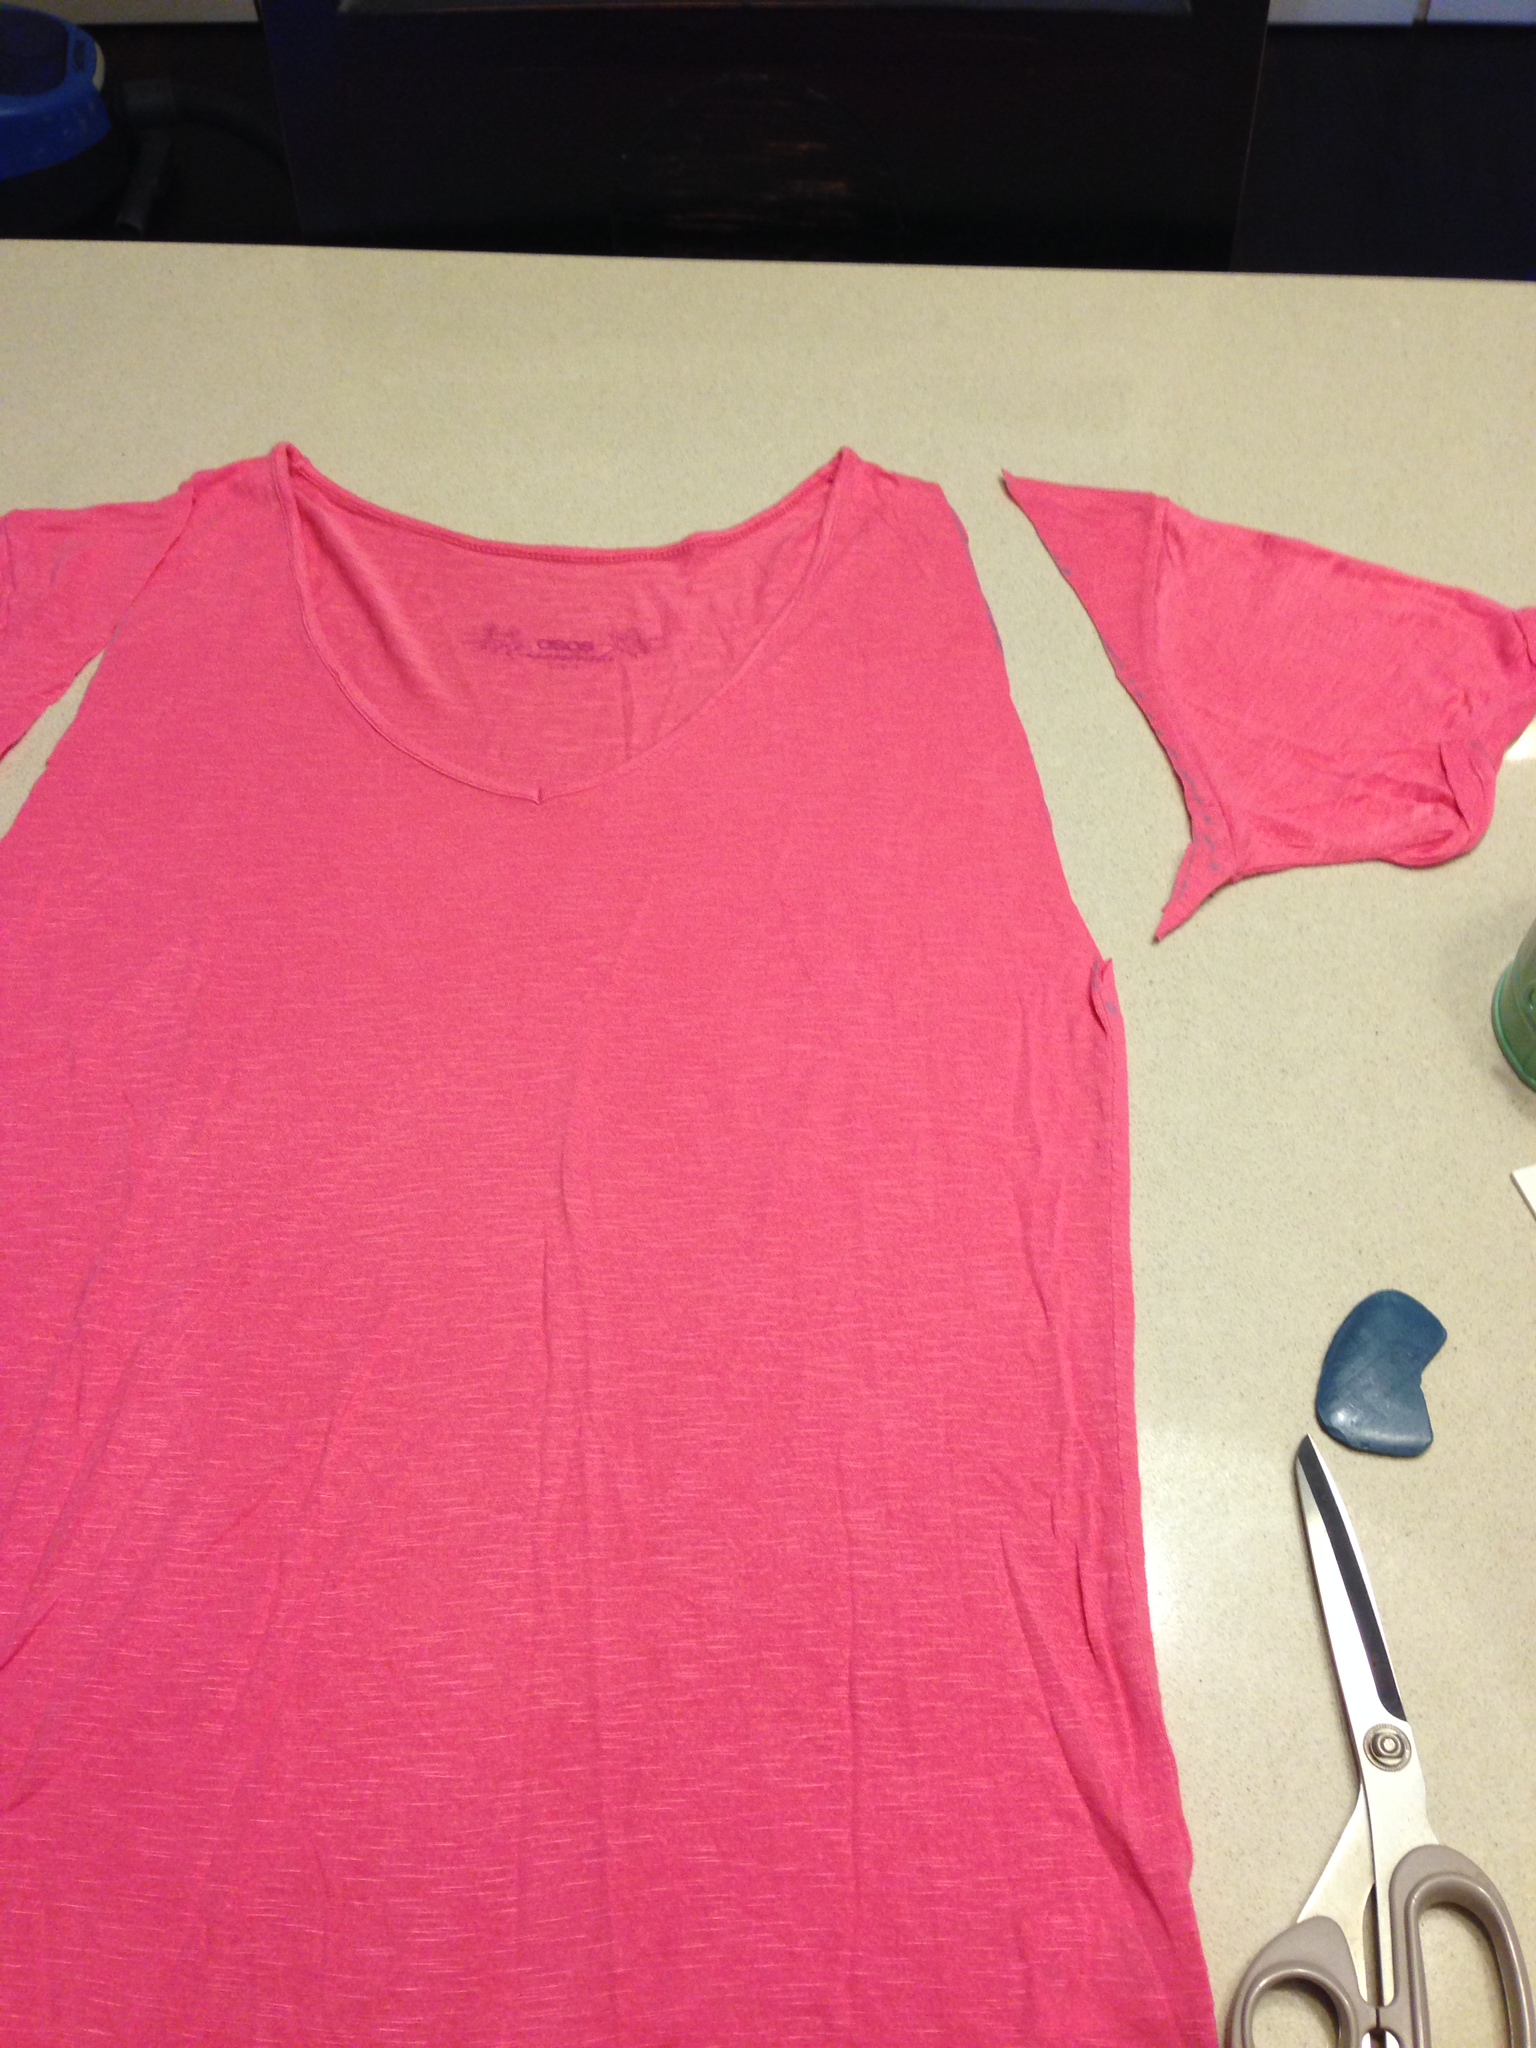
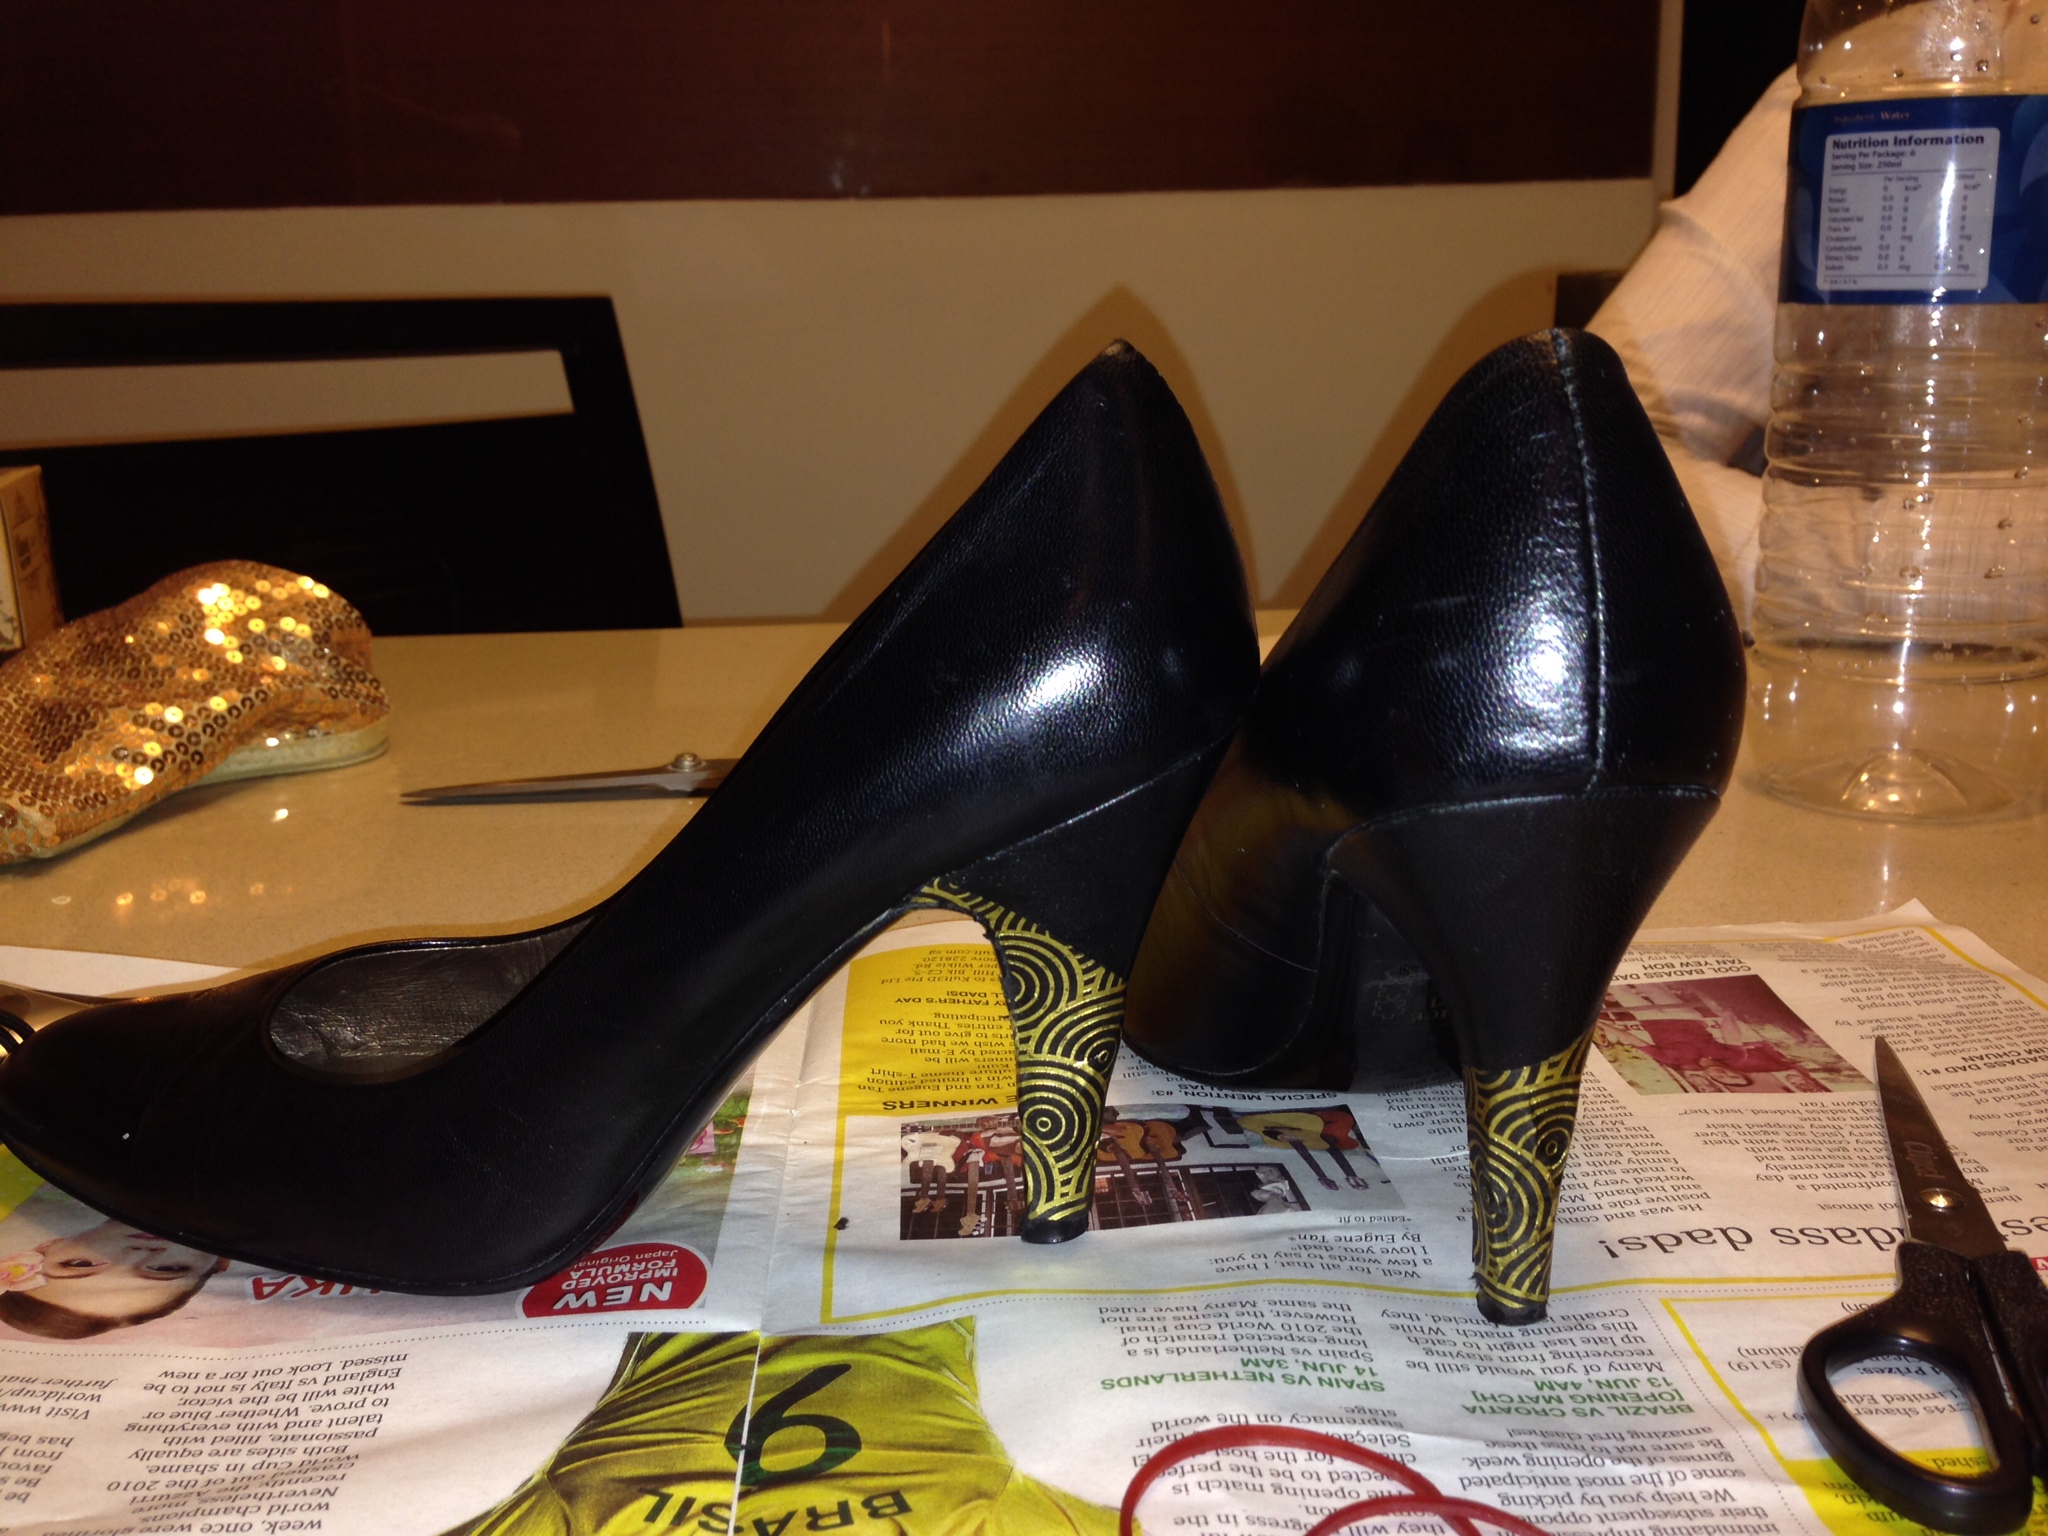
1. Get On With It: I suppose this was a lesson I should have learnt years ago from Monty Python, but I’ve lost count of the number of times I had a project idea but prevaricated for ages before I Got On With It – case in point, Mod Podge Heels. Making excuses for yourself is too easy, but I know that every time I do that I diminish myself a little. It’s always been important to me to try new things in life, but somewhere along the way I think I let myself become a little complacent. I want to make the most of this special time of our lives where we’re living in a “2 Person World” ( direct translation of a mandarin colloquialism that refers to a married couple with no children) so I’m going to set a timeline for myself  – Every idea I have will be attempted within 2 weekends. I think this is a goal that is specific and achievable so fingers crossed!

2. The Importance of Disciplined Unplugging : Donning my studying cap again after a 5(?) year hiatus reminded of the amount I can accomplish when I deprive myself of an always-on internet connection. I didn’t actually switch off the router, but I removed my ipad from my room and sat very strict break times when I would be allowed to pop on Netflix or spend 30 minutes checking my usual blogs. The experience brought home the fact that I really do spend a lot of random online time, time that I could spend reading the books I’ve been meaning to read, or working on the projects that I’ve been meaning to do. Of course, I would not want to switch off permanently (life without the cat pictures is not worth living) but I think there have been too many times where I reach for the internet out of force of habit, rather than some genuine need or desire to acquire a new piece of information – I will be more intentional about the time I spent online. I think this one is going to be harder, but the idea is to be more aware about my screen time so I can check myself before looking at yet another blog or BBC News article.

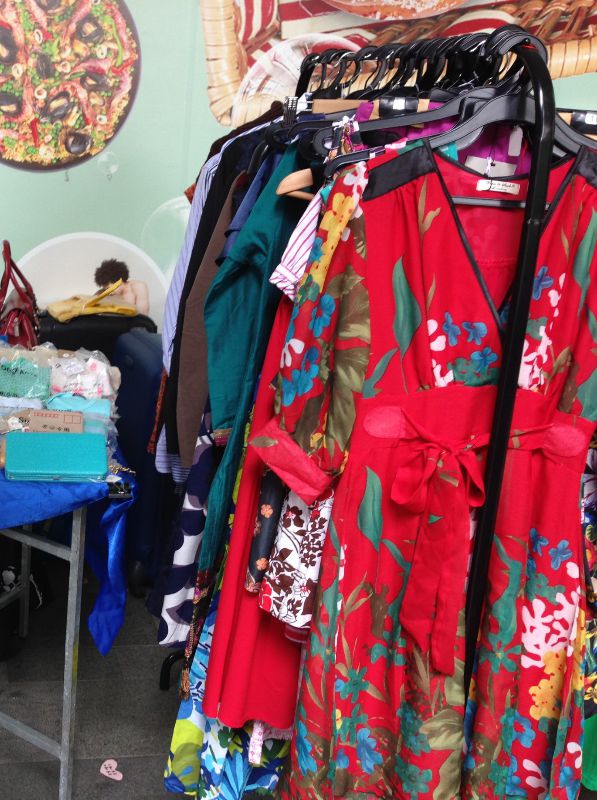
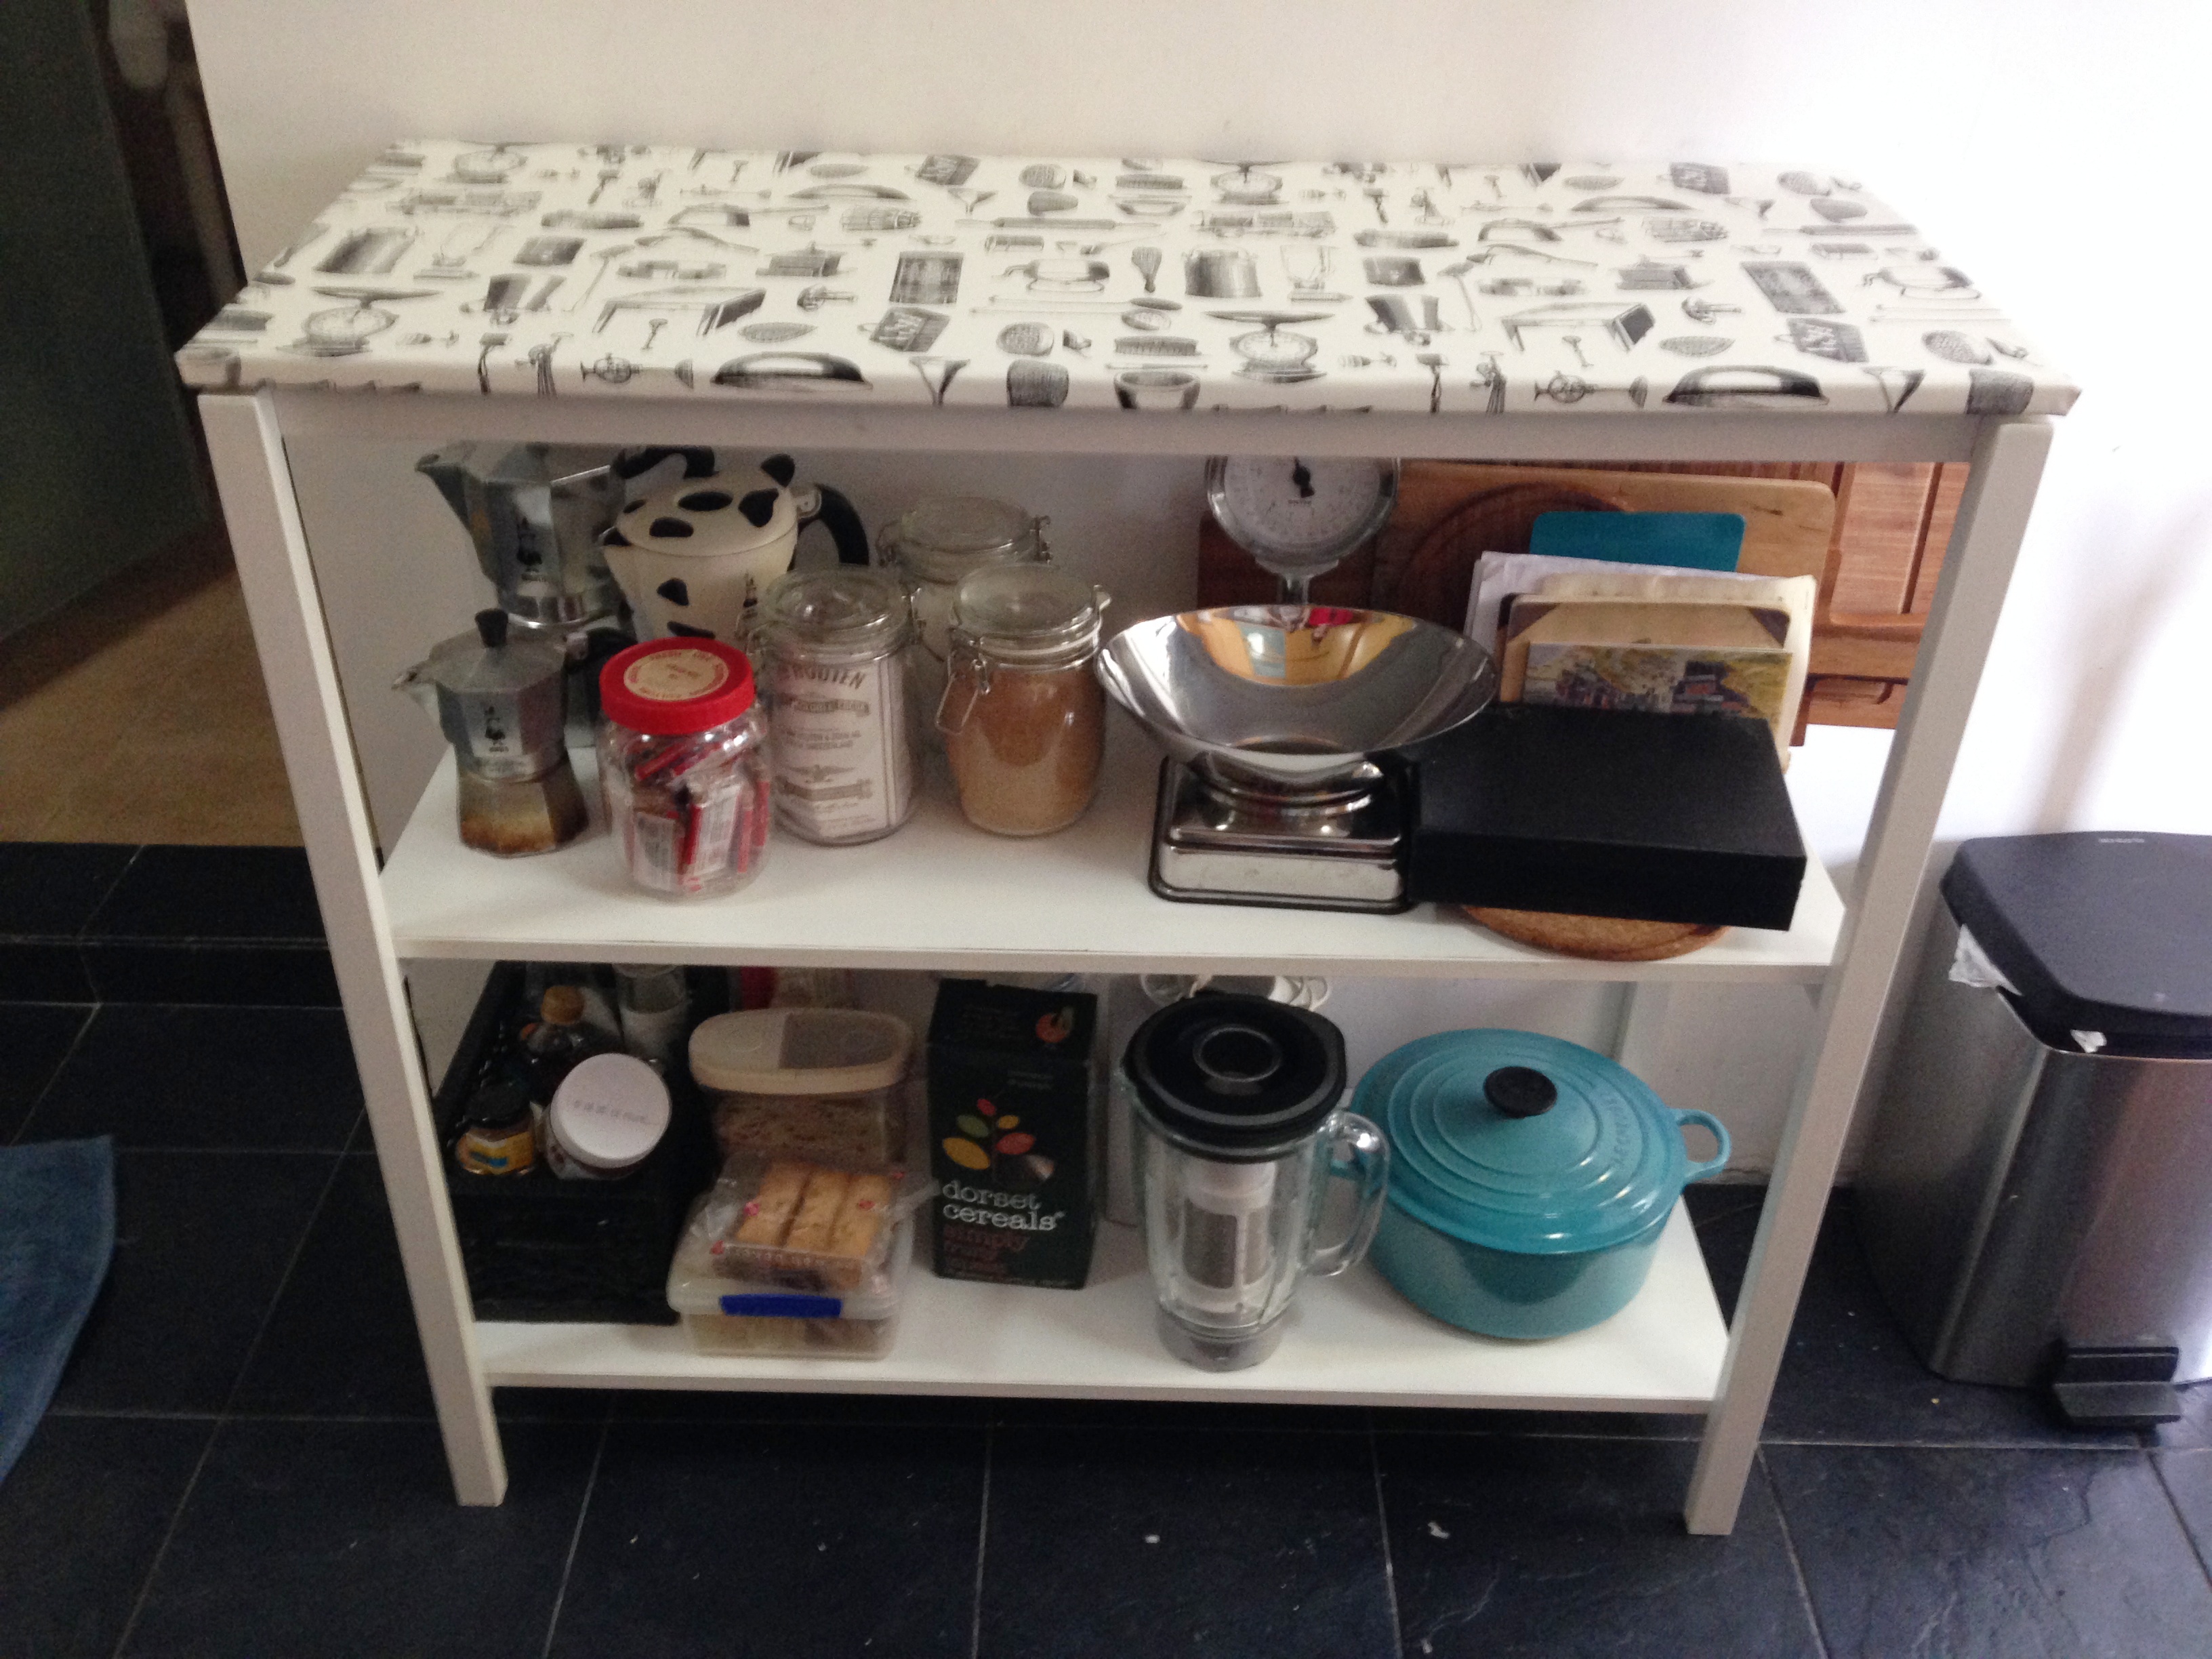
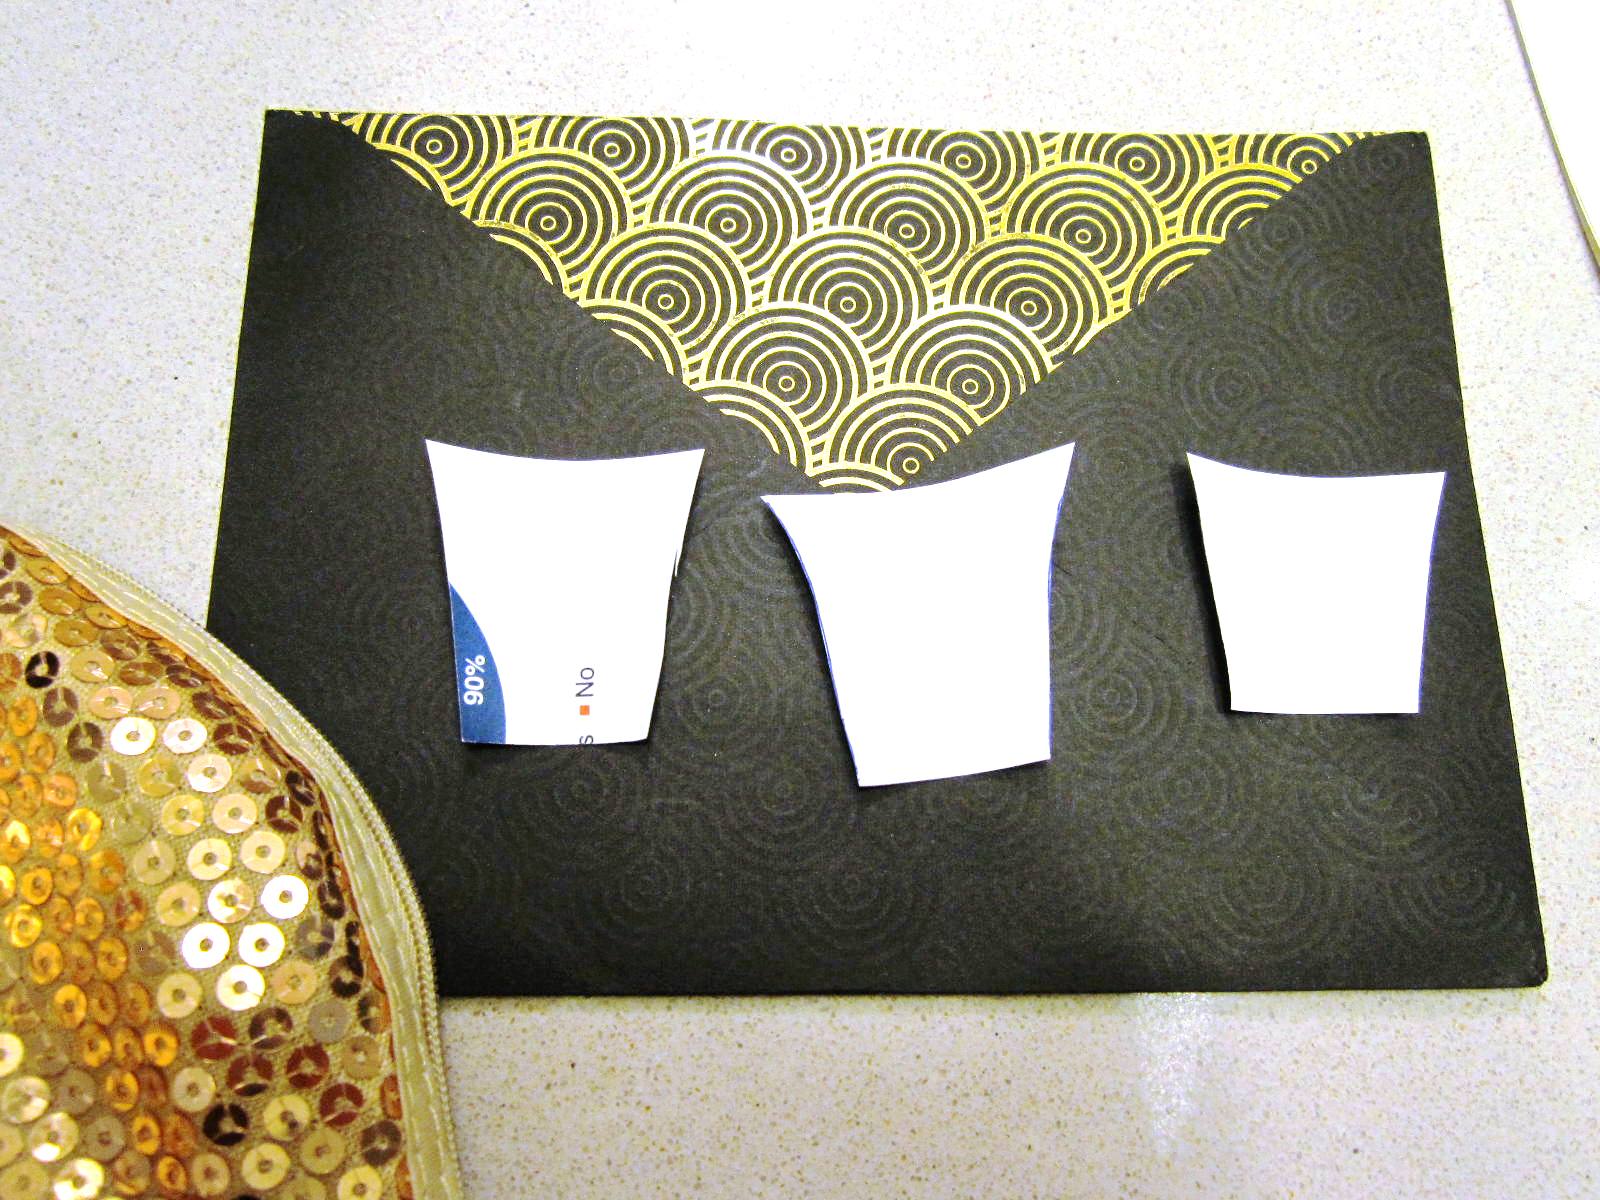
3. Own Less Lost Stuff : I couldn’t think of a catchy phrase for this. The old William Morris chestnut was an obvious choice, but I still want room in my cupboards for things-that-may-be-useful-so-they-get-a-short-reprieve. Like any crafter, I have a collection of trims, paper scraps, bits of fabric etc which I am not willing to part with, so the idea here is that I will pare back stuff that is floating around the flat with no purpose or meaning in life – Lost Stuff. Some examples of Lost Stuff are clothes that have not been warn in a year, books I have no intention of reading but somehow acquired, and yes – even half-finished projects that I have lost interest in.  Not everything is worth the DIY effort, and there may be better avenues for my creative energy than to wrap a free box in fabric I don’t love. In the spirit of Get On With It I am not overthinking this, especially since the impending international move is already a good motivating factor. The Great Purge started on 1 Jan and the “body” count so far is 5 pair of shoes to the bin, two bags of clothes to be donated and another rack + two bags of stuff that will go to this weekend’s flea market(my first!) Anything that survives the flea will then be donated.

3 is a good number I think so I shall stop here and go poke in the odd sock drawer for something to throw..

For Dad

I’ve not felt much like blogging since starting my new role in Sept.. it’s an exciting opportunity and a big change of direction in my career, and I’ve felt like it’s taken up more of me than I initially expected. It’s been 2 months and I’m feeling much more settled, so in a bid to get back on the hobby horse (oo triple pun score! :)) I’m squeezing in an October post.

September was mainly taken up by my Rhino painting which I have finally finished! I am really quite pleased with it and think it deserves its own post. I also baked a batch of brownies (calling that #21) which were a little less successful as the recipe was a tad sweet, and made 2 sets of blackout curtains for our bedroom and the girlcave (#22).

October has been a funny month. There has been the thrill of finishing the Rhino and inspiring conversations about the viability of art as a career somewhere in the future. I have hosted my incredible sister and brother-in-law and my wonderful nice and nephew, and in doing so experienced in some small measure the joys and terrors of parenthood. I know I am not ready for that responsibility yet (eek!), but it is a piece of a future I hope we will be blessed with.

I have also watched a lot of Great British Bake-off, cooked 3 meals ( I think that collectively counts as #23?) and started a new painting.

When I was little we would go back to my father’s kampung (hometown) every Chinese New Year. It was a 5-6 hour drive before the highways/depending on the traffic, and I remember how my paternal grandmother, Ah Mah and all my aunties would conspire to keep my paternal grandfather, Ah Gong in the dark about when we would actually be arriving. This was before the days of mobile phones, so Ah Gong spent many an hour sitting on the porch waiting for our return. One of the many highlights of Chinese New Year was the fireworks. It meant staying up way past bedtime, and we would file out in our semi-pyjamas made by my aunt and joined our cousins and half cousins in a pyrotechnic extravaganza. There were pop-pop (screws of explosive powder – I used to think it was gunpowder!) that you would throw on the ground – it was a favourite game of the boys to throw them at your feet to make you jump; sparklers in slim blue packets with a black cat with large eyes on the front; spinning tops that, once lit, would spin round in a widening gyre. daring you to come near and jump away shrieking as they spun in your direction; and the magic wands that you held up the sky from which coloured balls of light would shoot out in a shower of sparks and light up part of the night sky.

The wands were particularly exciting since you held on to them for the entire performance and unlike the sparklers, there was a sense of conjuring since you never quite knew how many sparks there would be and what colour they would take. I have vivid memories of my Dad holding my hand over the wand and directing it away from us. As I write, I feel I can smell the mix of matches, joss sticks, mosquito coils and what I assume is gunpowder ( or perhaps cordite?) wafting around me. I remember how the wand would get hotter and hotter as it spewed ball after ball of light. I remember the thrill of excitement married with the certainty that with Daddy holding my hands, I would not get hurt.

It’s not finished yet, but this one is for you Daddy.

More goodies for the SG Mini Maker Faire 2014

Sorry for the delayed post!

The Faire coincided with the last weekend of my Mum’s visit (26-27 July)  which was providential as it meant I could “conscript” Mummylabour to help with the Faire.

As my Mum doesn’t live in Singapore, we don’t get to spend much time together so this was a rare opportunity. We had a lot of fun making 2 bags together, some yarn pom-poms as well as the sign for the Tinker Tailor stall. Along the way she told stories about her perfectionist sewing teacher Ms Gan (I think) and how she would mercilessly reject anything with the slightest of flaws.

The bags took some planning and were,how shall we say, experimental bags as I didn’t have any plain cotton that was suitable for lining the bags, nor did I have any webbing or other stuff for the straps so those were cut out and sewn from scratch.The first bag was a simple tote made using a graphic apple print based on an existing tote. The second was a small satchel loosely based on a small and old Esprit bag I own which is the perfect size for quick dashes to the shops.

My obliging model

Execution was entirely down to Mum. She even helped recover my mannequin with an old gray t-shirt!

We made the pompoms using Dana’s tutorial. I’ve made pompoms before using a different method that involved cutting cardboard Os but this was much easier – thanks very much Dana for the clear instructions!

Using the measurements for the allocated table, I drew the letters for Tinker Tailor out on cardboard and we used paper and fabric to cover them. I thought about using Mod Podge again, but since it didn’t really matter what the back of the letters looked like I stuck to UHU stick and sellotape. I’m very pleased with how they turned out

Sign in progress

Voila – our booth!
Maker Faire 2014 -Final Booth

Pressure-prompted is an euphemism for procrastination

My recent MBTI profiling exercise  names me a pressure-prompted J. To be honest, I don’t need an expensive test to tell me that. Case in point, the months of June and July where I was simultaneously excited and nervous about the Singapore Mini Makers Faire and *successfully* convinced myself that not doing anything earlier meant I’d have more time since I *always* produce results under pressure.. The Husband had decided a few months before (May?) to have a booth at the Faire  – much work has  been done on Squirty and Beerbot in the last year and this would be a good chance to give them their moment of glory. It’s possible he also had the noble motive to introduce as many kiddywinks to the wonderful world of engineering as possible in hope of preventing the loss of a generation to the murky worlds of law and finance.

Being a good commercial lawyer, I swiftly negotiated the right to hijack said booth, which resulted in the catchy name of Tinker Tailor. However unlike Owen‘s effusive speech Making requires more than a clever turn of the phrase (insert obligatory reference to blood, sweat, tears and needles here).  I had actually started on my quest with the projects below.

Stripey was my first attempt at a cloud-shaped pillow. I’d seen cute shapes like clouds. mountains and whales on the Interweb a while ago, looked up a few images online first, but none of them matched the picture in my head.   Although it looked good on paper, I learnt that the more acute the angle was, the more difficult it became to sew which resulted in more puckering at the intersection of each scallop. I may have been able to compensate by overstuffing the cushion a bit, but the fabric in question was not very stretchy, which meant the seam was more likely to rip than the fabric stretch,  It was neither an abject failure not a resounding success, but like a mother with her delinquent firstborn, Stripey will always have a special place in my craftroom. Stripes and spots Take #2 involved a little more googling where I found this Liberty tutorial. I’ve loved the Liberty store for as long as I’ve known it, so although the shape was not what I wanted, I was confident that the pattern would work well.  I was right!

I used a cuddly soft fleece for this and have made 3 of these so far but still need to work on my blind hem sewing skills. The nicest one has been gifted to a friend’s beautiful baby A, I hope she finds it as cuddly as I do.

The next project involved breaking out my kanzashi flower maker, one of a number of craft-related items I requested for Christmas. In one of those slow-motion “Ohhhh…” moments, I thought it would enable me to make a flower at a time, as opposed to a single petal at a time..  After a little whinge, I realised it was actually quite an easy and satisfying process and made about half  a dozen. I sewed some of them to make baby headbands and have a few extras I will be using as accents on some of the projects in the pipeline. The centers of the flowers  were the most annoying bit as I do not really have any buttons beyond the spares that come with clothes. I broke out my new hot glue gun and experimented with felt, circles of fabric, and miniature fabric roses.  I think the roses look the best as the 3D effect provides additional interest, but they are also the most time consuming.. I really like my hot glue gun, but I think I need to get better at not leaving sticky tendrils everywhere. I also wasn’t sure if the glued headbands would still be washable – a trait that is crucial in babywear. In any event, the flowers looked sweet, although the whole process of trying to encase elastic really did stretch my patience :) I also made one felt flower using this tutorial, and attached it to a wrist corsage but it’s somewhere amongst the flotsam and jetsam of my craft room

The finished product

The finished product

If one is busy avoiding action, it is useful if one can outsource the execution of certain projects so you can still  claim credit for the design process.  Our auxiliary kitchen work surface ( which is really our primary work surface given the comically large stove top in our rental) was showing signs of wear after 3.5 years of faithful service. It is a discontinued Ikea model so I looked into getting a new piece of butcher block or other worktop as a replacement, but they were all more expensive than the unit itself.  I decided the best option was to wrap it in laminate or some other durable and flexible material – the Fabric Gods were kind and I found the perfect vintage-style  printed vinyl tablecloth.  The Husband agreed so it came home with me. Given my performance in the months of  June and July,  if it had been up to me, the roll of vinyl would probably have sat in a corner until I felt it was the “right” time to tackle the project, despite the fact that it really didn’t require much planning.  Thankfully for us, this was decreed a Boy Job and we’ve been happily using our old-new worktop for the last 2 months.


The alignment of the scales was a happy accident

The alignment of the scales was a happy accident

I think it stayed like this for 2 weeks?

I think it stayed like this for 2 weeks?

This has shaped up to be quite a mammoth post, so I’ll leave the details of the Faire for another day!


Why is yoga wear so expensive?

Now that I’m back on my yoga 3x a week mission, plus the fact that I’ve just started spin classes, I find that my stinky laundry generation rate is beginning to get a little silly. In addition, since I sometimes skip the shower queues and head home, I try and bring an extra top to change in to and be a gracious commuter hence more laundry. (Hm, I’d probably get more space in the train if I did get on in sweaty gym kit..)

Now I do appreciate that proper sports kit is probably made out of special sweat wicking nano tech green plasmoid fabric, and it does make a difference when you’re already overheated. However,  yoga stuff just seems to be extra fashionably expensive.  US$60 for a top without any built in support?  Although perhaps it’s still too low a price to pay for some dignity (although the saga was 2013 so perhaps QC has improved?).  I don’t need magic fabric when I’m just getting on a train, but I was aiming for the “post-gym semi-fashionably dishevelled” look, rather than the “rolled out of bed and pulled on scrappy clothes for the market” look. I had a pretty good idea of what I wanted – something crossed back, drapey, loose and soft to  cope with the post-workout heat. Nevertheless, I consulted google images to see if there was something else more interesting that I thought I could make in a short time.  I did find something I liked, but In the end, I stuck with my original idea for ease of execution.  I  also found some interesting sportswear patterns – I still haven’t tried sewing with patterns yet as the packages always seem so intimidating?  I bought 3 sets in a pattern sale though so I’m committed to the cause now! But I digress.. Poking through my wardrobe revealed a slouchy pink Asos t shirt that was past its prime- perfect candidate for an up cycle. The top already had a wide neckline which gave me space to cross the straps across the back , thereby narrowing the neckline. Does that make sense? This was quite a simple project which involved 5 steps.

  1. Remove sleeves
  2. Mark the drop at the back of the top
  3. Slice the back of the top down to the mark
  4. Take the sides in
  5. Cross the straps at the back and attach to the body of the top

Sleeves off!

I did all this by hand as my sewing machine wasn’t set-up post-surgery yet.  It’s not perfect as I didn’t hem the straps, but no biggie and it’s already survived 2 washes  It’s nice to do one of these no pressure projects – if it fails it was just an old t-shirt anyway and it would gets consigned to the rag bag for wiping surfaces etc.

Conclusion- a soft sleeveless top that’s great to throw over your crop top after your preferred form of exercise.  I’ll  include an after photo in the next post – the Husband is away and I can’t photograph my back :)

Mod Podge Magic

You know how sometimes when you get a good idea, and idea that seems so cool in your mind that the niggly but extremely persistent part of your brain gets so worried that it won’t work so it self-sabotages?  Personally I find there are a few stages to this tortured process:

  • Eureka!! You have a Great Idea!! You are a genius!!
  • You turn the great idea over in your head for a while. You google to see if anyone has *stolen* your Great Idea.
  • You turn it over in your head a bit longer cos the Idea is So Great you want to make sure the execution is flawless.
  • Finally it’s time to drop some cash! You venture out to buy supplies.
  • You find that some supplies are a lot more expensive than you thought.
  • You buy only half the supplies you need and tell yourself the rest will go on sale at some point and that you can wait.
  • Years pass…
  • Your husband buys the supplies you felt were too expensive 2 years ago for a completely unrelated reason and you start a blog that commits you to doing projects so you finally get to it.

(okay maybe the last bit isn’t part of the usual cycle..)

ANYWAY… a few years ago when I was still living in London I bought my first pair of grown up black pumps, the Caprice from Jones Bootmaker. Standing at just over 3 inches, she was leather, fabulous and sexy but professional and I was going to stride confidently behind my pupil master like Nelle Porter without The Hair. Caprice would help me walk on air across London’s cobblestones, and I would never perspire, not even in summer in an overheated courtroom despite wearing pantyhose (Sidenote: We were told whilst doing the BVC ( I think!) that bare legs in court were a no-no).  I quickly found out the height was not the most practical for carrying lever arch files especially when one has temperamental ankles that like turning in different directions without warning, but I still managed to pull her out for evening events. One day while teetering slightly, I scraped the back of the heel on the cobbled streets on day and it was a bit like biting your tongue. One scratch turned into 2 and the risk of Caprice being mistaken for a kitty scratching post grew.

I couldn’t bring myself to throw them away as the front of the shoes were fine (waste not want not), she were comfy albeit a tad high and chucking her would feel like I was admitting defeat – that I was not going to be Ginger Rogers and would forevermore be wearing only comfy Bleyers when I danced. So she followed me across the seas from London to Singapore where cabs are cheaper so my high-heel skills didn’t really need to improve, but darn there are lots of drain grates in HDB estates so she gained a few more battle scars and was placed in early retirement under my desk.

Enter the Great Idea – d’oh I just needed to cover up the scratches somehow! Permanent marker or  nail polish wouldn’t have worked as in some places the leather had been scraped off the heel, not just scratched.

[Insert tortured process here and press repeat]

The stumbling block was Mod Podge. I have read about this seemingly magical stuff for years on design blogs but when I tried to lay my twitchy craft-hands on some in Singapore I balked at the price in Spotlight. I can’t even remember how much it was, but it was definitely much more than the US retail price and seemed overpriced for what I thought was essentially a glue? And so Caprice sat all lonesome under my desk at work ( well she wasn’t really that lonesome as she had friends there.. did I mention I have a shoe habit? but I digress)

One fine day as we were in Art Friend spending some birthday money and the Husband was buying acrylic panels, he picked up a Mod Podge variety pack to do some gluesperiments, I looked in the basket and went “Oh, you are buying Mod Podge!!!”. The Husband looked a bit bemused at my (over)reaction and enthusiastic monologue about the decoupage world, but I took it as a Sign. The Craft Gods had spoken, I could feel the Warp overtaking me and it was a good pain.

Despite the Chaos  Craft Gods, It took another 3 (?) months before I decided to stop standing there like a lemon and get down to brass tacks.

Supplies :

  • Mod Podge – I used the gloss version as I figured the extra shine would look pretty and help mask imperfections
  • Something to squeeze the Mod Podge out on  –  I just used a bit of paper.
  • Newspaper ( I could already hear my Mum’s scolding at the sight of shoes on the dining table.)
  • A damp rag to wipe off any extra Mod Podge before it dried. As a point of interest, although I live in an island with over 80% humidity all year round, Mod Podge still dried much quicker than I expected.
  • A paint brush. Some sites suggest using spongey craft brushes, but I didn’t have any and wasn’t about to sacrifice any Scotch-Brites.
  • Rubber bands to secure the paper to the heels while drying.

My initial plan was to wrap the whole heel in paper. IHowever I quickly realised that the curves would make things tricky even if I was able to use a template, and considered using some fabric.

???????????????????????????????The lovely textured and art-decoesque envelope is something I saved from a friend’s wedding invitation years ago. I earmarked it for Caprice but the tortured process got in the way. The extremely sequinned thing in the bottom left corner is the bottle sleeve that accompanied the free bottle of body wash I was given when I signed up for a credit card 4 years ago. It has been hoarded in the scrap box as figured it would come in useful one day so   ( But that day has not arrived yet..)

After staring at Caprice a bit more, I remembered that one of the effects I’ve always liked is for things to be asymmetrical – e.g. a slanted hemline or off-kilter necklace. And so the design evolved to this:

I secured the paper with rubber bands and left everything to dry overnight. The next day I removed the rubber bands and painted on another layer of Mod Podge to seal everything.

Heel_Complete

I am very pleased with the outcome, but I wish I took more care with the measuring and cutting before glueing the paper on. It was a rather time consuming process to trim the paper around the join between the heel and the sole of the shoe, as well as the between the end of the heel and the heel tip. It may have been quicker if I’d used the Husband’s Dexter-style set of knives but those things make me a little nervous so I settled for a little retractable blade.

I wore them to work on Friday with jeans and am very happy to report that (a) I didn’t scratch them, and (b) 2 colleagues remarked on how unusual and cool they looked and asked me about them :). Yay for external validation!


Lucky 13

Last weekend I scored some Brazil nuts (for reasons completely unrelated to the World Cup..) and decided to bake some brownies. My starting point for recipes tends to be either Nigella or Delia and I found this one which looked suitably low faff. Husband John had sternly barred me from making any modifications and since he is the Kitchen God in these parts I momentarily put down the Wife is Always Right banner, but unfortunately I didn’t realise it was an American recipe. Allow me to explain: I tend to find American recipes run a little sweet for me and typically reduce the amount of sugar by 20-30%. It should have twigged when I was weighing out the sugar (275gs?!) but oh well.

After some internal debate on how roughly chopped the nuts should be (slivers battled with chunks and chunks won), I began attacking them with the good knife. Halfway through I had a change of heart and switched to our smaller Ikea ones, although to be honest I wasn’t sure if it would really do the blade that much harm. Shamefully we have yet to find a decent knife block that doesn’t cost more than all our knives or come with knives, and hence our sharp implements reside in a kitchen drawer in a tangle of tools. I was thinking of getting this Bodum one or perhaps a more affordable alternative, but then started wondering if geckos or other less salubrious denizens that I share this tropical island with might crawl in between the sticks and make themselves a nest. And this is why our knives live in a drawer together with the spatulas and toothpicks.

But I digress. The chopped nuts really looked like bits of garlic which made me giggle more than it probably should as I contemplated the possibility of stir fry brownies, with added chilli. In any case, finding myself lacking in the Silverwood tin department I used a bun tray instead which meant we got more crispy bits. The brownies were very tasty, but a bit too sweet. I think I will make another batch with some modifications this week.

My brownies clearly had some lucky Project 13 power – I spoke to the studio yesterday and someone expressed an interest in buying Molly! I’m not sure if I will sell her, but it was so exciting and such a boost to know that someone who is not related to me would be willing to part with hard-earned cash for something I created. In a strange turn of events, I had just been talking to one of the artists at the studio about the path to becoming a professional, or at least a part-time artist instead of just someone who paints on weekends. He was encouraging and then this happened :)

Regaining Momentum

I am finally squarely into the double-digit land!

Since my sewing machine is off at the hospital for what I hope will just be minor surgery, for Project 11 I played with a different tool – a 45deg mount cutter.

My mother-in-law MamJill gave me a really pretty birthday card a few years ago which I saved in our memory box, fully intending to frame it one day. I love the colours and how just a few well placed strokes can convey such strong lines.   I like framing greeting cards as I think it’s much nicer to have them on a display if you can instead of just squirreling them away. We did the same with our wedding invitations and some wedding cards which are hanging in the kitchen, and it’s nice to have something to smile at whilst chopping onions.

Some time ago I was on a framing rampage and bought a bunch of the ubiquitous Ikea Ribba frames in different sizes.  I picked a square one for this, but felt that the  window in the mat was a little small given the proportions of the picture.  I drew a bigger square around the existing window, set my rescued T square against the edge of my cutting mat and started cutting.  The cutter did feel quite magical as I got a nice clean 45degree cut. I did make the mistake of not extending the blade far enough  during the first cut – I had to go over it which made the line a little crooked, but it isn’t too obvious so I’m cool :).

Project 12 was the re-knotting of an old pleather belt – the belt had an origami-esque knot that looked cool on screen but turned out to be a flappy tail when it arrived in the post.. 2 years ago? And I bought 2 as well! The good thing was since it had been hanging around in the tropics for so long the glue seemed to have softened so I could semi take it a part before retying it.

One of the best things about Project 48 (when I don’t take unplanned hiatuses..) is that it compels me to look around for things that need to Get Done. When I first started I felt I needed some amazing before-and-after to kick things off and it felt that my amateur photos and projects were not worthy of the Interweb. I still feel a little shy, but at the same time I’m glad I’m making a conscious effort to make time for play. Both Husband John and I work such long hours that we won’t have time for our hobbies unless we schedule them. A little sad, but true for now anyway. we just returned from a lovely holiday in Boracay – spending entire days reading on a beautiful beach really reminded us how 55 hour weeks really shouldn’t be the norm. Tomorrow will be different I say, I shall press the productivity button and get twice as much done in half the time * insert horned cats here* ..

From the jaws of failure?

An unplanned hiatus! Things just got really hectic at work, and since I started CFA revision free time has been rather elusive to say the least. I’m not sure if I’ve completely rescued Project 48 yet  (how is it May already??), but at least I’m almost at double digits!

I have still been painting regularly and am averaging 5 hours each weekend,  so dear Rhino has been progressing well.   Also my giraffe whom I have named Molly is hanging, perhaps slightly self consciously, alongside the works of other artists in the studio I go to  – my first exhibition!

First let’s see how the as-yet-nameless Rhino is doing. My last update was in February, and since then I have made quite a lot of progress on the table, face and hands.

Fast forward to May and this is how he looks now!

May

I’ve changed the shade of the blue numerous times through lack of planning and am a little unsure about the wallpaper, but will see how it evolves. The hands have actually been a lot of fun after the tough time I had with the John and Ollie portrait. The funny thing was that as I was essentially using my own hands as a reference point, despite being  very conscious that I’d need to make all limbs beefier, he still ended up having very feminine hands in the first round. The ruff is proving to be quite a challenge, but I bought a new set of short and very thin brushes that I’m loving for the detailed work. You get so much more control compared to conventional long handled brushes.

For Project 9  I repainted an ikea shoe rack we have been using for plants. It was red and is now  pale blue as I’m trying to create more of a restful vibe in the living room.  Project 10 was a little terrarium.  Some may say it’s a trend that has passed it’s prime, but I do like them and am hoping the contained environment will reduce the suicide risk. I think I should probably go to a nursery again – some of the shortcuts like buying potting mix from the market which contained more charcoal than soil haven’t really worked out.  Unfortunately despite living in the tropics and sneezing distance of the equator, our flat is actually quite dark thanks to the tinted AND recessed windows – what were they thinking.. The shape of the terrarium isn’t quite right either as I wanted a much bigger container,  but it’s still quite sweet and can serve as a reminder to water plants as it sits pretty on the coffee table.